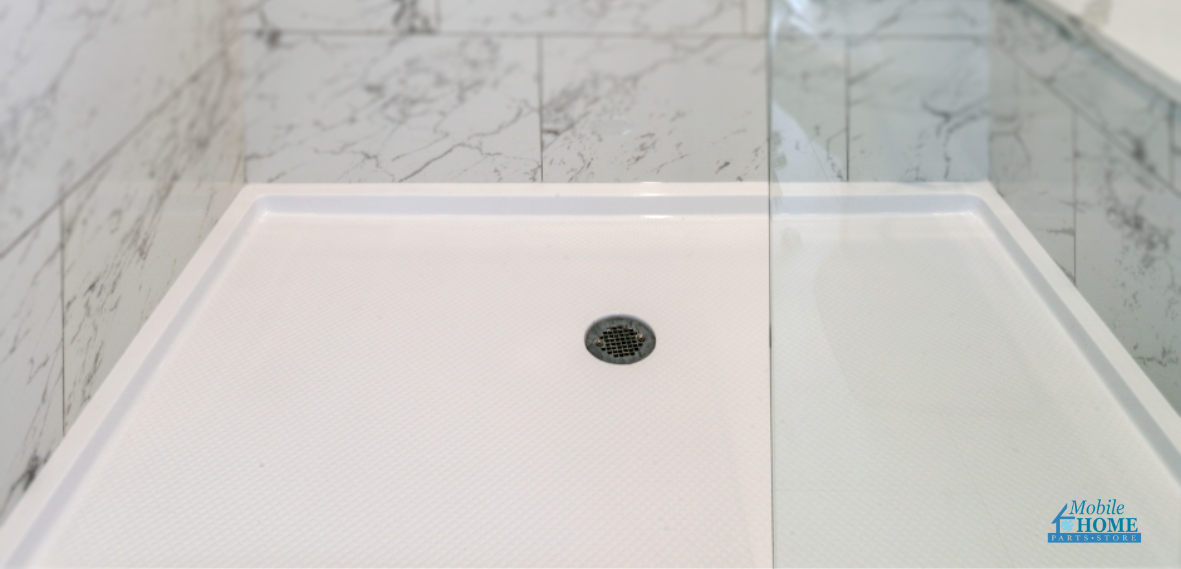
Let’s be real—the shower is more than just a place to rinse off. It’s your little sanctuary, where you can steal a few precious moments of peace and quiet from the kids or just let your worries wash away. But when your shower pan is cracked, leaking, or just plain worn out, it turns that peaceful escape into yet another task on your never-ending to-do list. Why not take charge and give your shower the upgrade it deserves? It’s time to cross this one off the “honey-do” list and reclaim those peaceful minutes of “me time.”
Installing a new mobile home shower pan is easier than you think. With just a little effort, you’ll have a fresh, clean space where you can truly unwind. Let’s walk through the process together—you’ve got this!
Prep
Before you dive into installing your mobile home shower pan, take a moment to gather everything you’ll need. Trust me, it’ll make the process a lot smoother. Here’s a list of tools and materials to have on hand. The good news? These are all pretty standard, and you can find any specialty items like caulk or a carpenter’s level at your local home improvement store.
Tools and Materials Needed:
- Your Chosen Mobile Home Shower Pan
- Power Drill (Cordless is ideal—since we’ll be working near water)
- Drill Bits
- Caulking gun
- Silicone bath caulk
- Tape measure
- Framing square
- Carpenter’s level
- Phillips and flathead screwdrivers
- Hammer
- Adjustable pliers
- 1.5” to 2” screws
- Washers
- Wooden shims
- Masking Tape
Measure and Prep the Area
Start by measuring the space where your shower will go. Be sure to get the measurements for all the walls that will touch the sides of the shower pan. Jot these down because you’ll need them when selecting your new shower pan. Not sure which one will fit best? No worries—our customer service reps can help you pick the right one.
Our mobile home shower pans come in standard sizes like 32” x 32” or 54” x 27” to fit where a bathtub used to be. We even have a larger option at 54” x 42”! Once you’ve chosen your pan, it’s time to remove the old one.
Clear Out the Old Pan and Prep the Site
After removing the old shower pan, make sure the installation site is completely clean. Sweep or vacuum up any dirt, debris, and old adhesive. Scrape off any stubborn old caulk or putty using a putty knife. Once the area is cleared, consider applying a water sealer before you move on. Let it dry fully before you proceed—this step will help keep moisture from becoming a problem down the road.
Check for Any Leftover Water
Before placing the new shower pan, make sure the area is dry and free of standing water. Any moisture left behind could lead to mold or mildew, and it could interfere with the caulk sealing properly.
Test-Fit the Pan
Now it’s time for a quick dry run! Place the shower pan in the installation area to make sure everything fits as it should. You don’t want it too tight (which could cause stress cracks) or too loose (which could cause leaks). Once you’re confident in the fit, you’re ready to move on.
Installing the Shower Pan:
Install the Drain and Final Placement
If everything fits from your dry run, go ahead and place the new mobile home shower pan for real. When attaching the drain, be sure to line up the cutout with your plumbing. Follow the manufacturer’s instructions for the drain coupling, as there are several types. If you’re using a compression seal, make sure to push it into place gently using a blunt tool. Avoid sharp objects like screwdrivers, which can damage the seal.
Level the Shower Pan
Use your carpenter’s level and wooden shims to make sure the pan is level. The pan should sit firmly on the base, and you should only need a few shims. If the pan begins to “float” above the base, you’ve over-shimmed it. Once it’s level, mark the edges on the studs to make sure it doesn’t slip while you finish installing.
Secure the Shower Pan
Now it’s time to attach the pan to the wall studs. To avoid splitting the lip of the pan, drill pilot holes before inserting screws. Be careful not to overtighten—this could also cause cracks in the pan over time.
Seal the Edges
Now that everything is in place and working smoothly, grab your caulk gun and carefully seal everything to make sure it’s watertight. Apply silicone bath caulk to any places where you drilled holes and along the seams where the pan meets the walls. Use a thin layer of caulk, especially where the lip meets the studs. You’ll also want to run a bead of caulk along the bottom edge where the pan touches the floor. If any caulk spills over, just wipe it up before it dries. If it dries before you notice, it can usually be peeled off with your fingernail or a plastic razor.
Reinstall Fixtures and Final Check
Now that your new shower pan is securely in place, it’s time to reinstall the shower faucet and drain. Make sure all plumbing connections are tightened and properly sealed to prevent leaks. Once the fixtures are reinstalled, double-check that everything is functioning as it should—turn the water on briefly to test for leaks around the drain and faucet.
Finally, give the entire area a last look-over to ensure everything is clean and properly sealed. Wipe away any excess caulk, and make sure all screws are secure without over-tightening.
Wrapping Up Your Shower Pan Upgrade
And just like that, you’re done! You’ve tackled one of those big, nagging home projects, and now you’ve got a brand-new shower pan that’s ready for action. Not only have you fixed up your shower space, but you’ve also reclaimed your little corner of peace and quiet.
Now, it’s time to kick back, relax, and enjoy those well-deserved, peaceful showers. The hard part is behind you, and you can feel good knowing you handled it like a pro!
Got more home projects on the horizon? Whether it’s another upgrade or you just need some advice, the team at Mobile Home Parts Store has your back. We’ve got all the parts and supplies you’ll need to keep things running smoothly. Give us a shout at 1-888-277-7220 or shoot us an email—we’re always here to help!
Editor’s Note: This article was updated on October 16th, 2024 to provide clearer installation instructions, additional tips for ensuring a watertight seal, and new sizing information for mobile home shower pans. We aim to keep our guides accurate and helpful, so readers can tackle their home improvement projects with confidence!
Tags: mobile home shower, mobile home shower pan, mobile home shower pans


