Owning an RV is like having your own home on wheels. It gives you the freedom to explore, camp, and create unforgettable memories on the road. But just like any home, your RV needs regular maintenance to stay in good shape. One of the essential maintenance tasks is replacing the RV sealant. Let’s dive into why this is important, how to do it, and the products you can use from the Mobile Home Parts Store.
Why Do You Need to Apply RV Sealant?
RVs are constantly exposed to the elements. Rain, sun, wind, and even snow can cause wear and tear on your vehicle. The roof and windows of your RV are particularly vulnerable. If the sealant around these areas deteriorates, it can lead to leaks, which can cause significant damage to the interior of your RV.
Water damage can ruin your furniture, cause mold growth, and even damage the structural integrity of your RV. By regularly applying RV sealant, you can prevent these issues and prolong the life of your vehicle.
Preparing the Surface for Sealant
Before you apply the new sealant, you need to prepare the surface properly. This is a crucial step because applying sealant over dirt or old, cracked sealant won’t give you a good seal. Here’s how to do it:
Clean the Surface
Start by washing the area with soap and water to remove any dirt or debris. Use a mild soap and water solution to clean the area around the old sealant. Make sure to remove any dirt, grime, or debris. A clean surface ensures that the new sealant adheres properly.
Remove Old Sealant
Carefully use a plastic scraper or a putty knife to gently remove the old sealant. Be careful not to scratch the surface. If the old sealant is stubborn, you might need a sealant remover like Dap® Caulk-Be-Gone® to help break it down.
Dry the Surface
After the old sealant is removed, clean the area again with a solvent-like rubbing alcohol to ensure there’s no residue left. This will help the new sealant adhere better. Make sure the area is completely dry. Moisture can prevent the new sealant from sticking correctly.
Inspect for Damage
Before applying the new sealant, check the area for any damage that needs repair. Address any issues you find to ensure a smooth application.
How to Apply the Sealant
Once your surface is prepped, it’s time to apply the new sealant. Follow these simple steps to get the job done right:
- Choose the Right Sealant: Different parts of your RV might require different types of sealant. For example, roof sealant is different from window sealant. Make sure you use the right product for the job. Products like Dap® Kitchen & Bath Silicone Sealant are great for areas that need to be waterproof, while Window & Door Sealant works well for windows and doors.
- Apply Tape (Optional): For clean, straight lines, use painter’s tape to mark the area where you’ll apply the sealant.
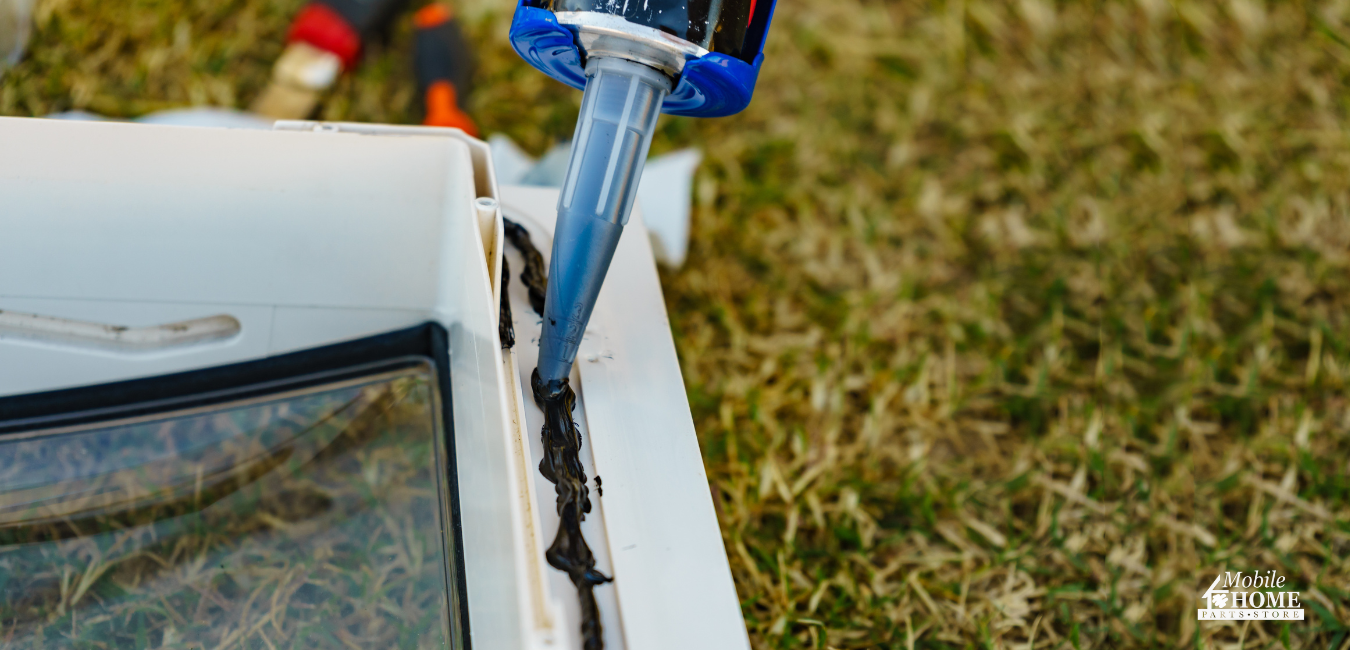
- Apply the Sealant: Cut the tip of the sealant tube at a 45-degree angle. Place the tube in a caulking gun and apply a steady, continuous bead of sealant along the seam. Move slowly and evenly to ensure a smooth application.
- Smooth the Sealant: Use a caulking tool or your finger to smooth out the bead of sealant. This will help it adhere better and look more professional. Make sure to wear gloves if you’re using your finger.
- Remove Tape: If you used tape, remove it carefully before the sealant dries to ensure clean edges.
- Let it Cure: Allow the sealant to dry according to the manufacturer’s instructions. This usually takes 24 hours, but it can vary depending on the product.
Maintaining and Inspecting the Sealant
To keep your RV in top condition, regular maintenance and inspection of the sealant are crucial. Here’s what you need to do:
- Regular Inspections: Check the sealant on your RV every few months. Look for cracks, peeling, or any signs of wear and tear. Pay special attention to the roof, windows, and any seams.
- Clean the Sealant: Keep the sealant clean by washing your RV regularly. Use a mild soap and water solution, and avoid harsh chemicals that could damage the sealant.
- Touch-Up as Needed: If you notice any small cracks or gaps, address them immediately. Clean the area and apply a fresh bead of sealant to prevent further damage.
- Annual Reapplication: Even if the sealant looks fine, it’s a good idea to reapply a new layer once a year. This will ensure that your RV remains well-protected from the elements.
 Sealant Replacement from Mobile Home Parts Store
When it comes time to replace the sealant on your RV, you can find high-quality products at the Mobile Home Parts Store. Here are a few top picks:
- Dap® Kitchen & Bath Silicone Sealant: This sealant is perfect for areas that need a watertight seal. It’s durable, flexible, and resistant to mold and mildew, making it ideal for RV kitchens and bathrooms.
- Dap® Window & Door Sealant: This sealant is explicitly designed for windows and doors and provides excellent adhesion and weather resistance. It’s easy to apply and ensures a tight seal to keep out moisture and drafts.
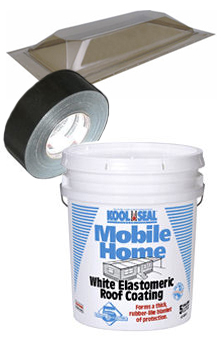
- Peel & Seal™: This is a versatile, self-adhesive product that’s great for quick repairs. It can be used on various surfaces and provides a robust and waterproof seal. It’s handy for patching up small leaks or damaged areas on your RV roof.
Conclusion
Replacing your RV sealant is an essential part of RV maintenance, but with a bit of know-how and the right products, it’s a job you can handle yourself. By regularly inspecting and maintaining the sealant, you can keep your RV in excellent condition and enjoy worry-free travels.
So, what are you waiting for? Grab your supplies from the Mobile Home Parts Store and get started on your RV repair today. Happy travels!
Tags: roof repair, Roof sealant, RV, RV life, RV products, rv repair


