


Thinking about replacing those old, worn-out exterior light fixture? It’s easier than you might think and can completely refresh the look of your home while boosting safety. Whether you’re dealing with outdated fixtures or simply want a style upgrade, we’ve got you covered. In this guide, we’ll walk you through everything you need to know about choosing the right lights and installing them—step by step.
Choosing the Right Light Fixture
Before you jump into the actual work, let’s start by figuring out what kind of exterior light fixture you need. There are a few things to keep in mind when choosing the best fit for your mobile home.
Where Are You Putting It? Size Matters
The placement of your light fixture is super important. Are you installing it near the front door, on the porch, or by the garage? For high-traffic areas like entryways, you’ll want something bigger and brighter for security and visibility. For spots like walkways or patios, you can go smaller or even opt for something more decorative.
Also, don’t forget to measure! You don’t want to buy a light that’s either too small or too large for the space. It’s all about balance.
What Type of Exterior Light Fixture Do You Need?
Not all lights are the same, so it’s essential to think about how much light you need for each area. Small spaces like entryways work well with single-bulb fixtures. For larger areas like patios or decks, multi-bulb lights are better for brighter coverage.
Here are some common types of exterior light fixtures and what they’re best for:
- Wall-Mounted Lights: Great for doorways, porches, and any spot that needs solid illumination.
- Floodlights: If you’re concerned about security, floodlights are perfect for lighting up large areas.
- Pendant Lights: These hang from above and add a nice decorative touch, especially on porches or covered outdoor spaces.
- Landscape Lights: Want to highlight your garden or pathway? These lights are more about ambiance and less about bright light.
Material and Finish: Tough and Stylish
Exterior lights need to stand up to the weather, so choosing a suitable material is key. Metal fixtures, like aluminum or steel, are durable, but if you live near the coast or somewhere prone to lots of rain, look for rust-resistant options like brass or stainless steel.
As for finishes, you’ll find plenty of choices—matte black, bronze, brushed nickel, and more. Pick something that matches or complements your home’s exterior style. Think about it like accessorizing your home!
Style Choices: What’s Your Vibe?
Speaking of style, there’s something out there for everyone. Whether you lean towards modern, traditional, or farmhouse vibes, you’ll find a light fixture that fits. For most mobile homes, a simple, clean design works well, but don’t be afraid to get creative if that suits your taste.
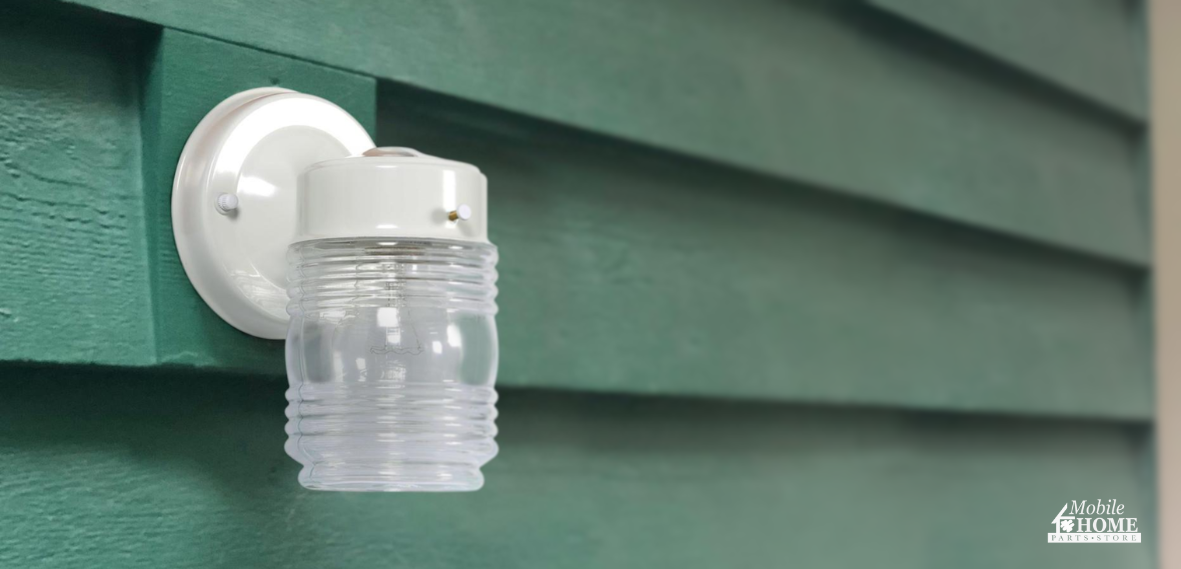
Design House Exterior Light Fixture with Globe
The Design House Exterior Light Fixture with Globe is the perfect way to welcome guests with a warm, inviting glow. Available in white, black, or satin finishes, this stylish outdoor downlight adds a cozy, country charm to your porch or deck. Its clear glass globe and low-profile design provide just the right amount of light for easy entry without being too bright. Made from durable steel, this light fixture is built to last. Plus, it’s easy to install with step-by-step instructions and comes with a 10-year warranty for peace of mind.
Removing the Old Exterior Light Fixture
Ready to get your hands dirty? Let’s start by safely removing your old light fixture. Here’s what you need to do:
- Turn Off the Power: Safety first! Head to your breaker box and switch off the power to the light you’re replacing. Trust us—you don’t want any surprises.
- Unscrew the Old Fixture: Use a screwdriver to remove any screws holding the exterior light fixture in place. Carefully pull it away from the wall once it’s loose.
- Disconnect the Wires: Gently pull the fixture away from the wall and disconnect the wires by unscrewing the wire nuts. Make sure to note which wires connect to which (black to black, white to white, and ground wires).
Installing the New Mount
Now that the old fixture is out of the way, it’s time to prepare the new one. Most exterior light fixtures come with a mounting bracket to secure it to the wall.
- Attach the New Mounting Bracket: Start by holding your new bracket against the wall to check the placement. If you’re installing more than one fixture, mark the height with a pencil for consistency. Yse the same guide holes from your old fixture to screw it into place. If you need to make new holes, use a drill and follow the pencil marks. Be sure to follow the manufacturer’s instructions when attaching the bracket, and use spackle to fill any old, exposed holes.
- Make Sure It’s Level: Use a level to make sure the bracket is straight. This will prevent your light from being crooked later on.
Wiring the New Exterior Light Fixture
Now it’s time for the fun part—wiring your new light! Don’t worry if you’re not an electrician; it’s easier than you think.
- Match the Wires: Start by wrapping the ground wire from the light fixture to the ground bolt on the mount. Check the manufacturer’s instructions to make sure you’re using the correct bolt. Then, tighten the ground bolt with a screwdriver to keep it in place.
- Next, twist the ground wire from the light to the ground wire from the wall in a clockwise direction. Double-check that they’re connected tightly.
- Secure with Wire Nuts: Once the wires are twisted together, cover each connection with a wire nut to keep them secure. Twist the white wire from the fixture to the white wire from the wall, again in a clockwise motion, and secure them with a wire cap. Do the same with the black wires—twist them together and secure them with a wire cap.
- Tuck in the Wires: After connecting everything, gently bend the wires so they fit behind the light fixture base. If needed, use a tie to keep the wires neat. Finally, carefully tuck the wires back into the electrical box.
Attaching the Fixture Housing and Making Final Adjustments
You’re almost done! Now it’s time to attach the light fixture to the mount and make sure everything looks just right.
- Mount the Fixture: Line up the fixture with the mounting bracket and screw it in place.
- Insert the Light Bulb: Once the fixture is securely in place, pop in the correct type of light bulb. Make sure it’s suitable for outdoor use and matches the fixture’s wattage requirements.
- Check the Alignment: Take a step back and make sure everything looks straight. If the fixture looks crooked, loosen the screws, adjust, and re-tighten.
Final Tips and Tricks
Before you wrap things up, here are a few extra tips to make sure your new exterior light fixture is perfect:
- Use LED Bulbs: They’re energy-efficient, last much longer, and come in various brightness levels. Plus, they’re better for the environment.
- Weatherproof It: If your light fixture isn’t already weatherproof, you might want to add extra sealing or use a weatherproof cover to protect it from the elements—especially if you live in an area with harsh weather.
- Test It Out: Don’t forget to turn the power back on and test your new light! If it lights up, you’re all set. If not, double-check your connections and the breaker.
Wrapping It All Up
With your new exterior light fixture installed, you’re well on your way to boosting both the curb appeal and safety of your mobile home. A fresh set of lights can make a world of difference! Whether you’re sprucing up your entryway or adding more security to your space, choosing the right fixture and installing it correctly is a smart upgrade.
For all your mobile home needs, from lighting to other essential parts, visit Mobile Home Parts Store. We offer a wide range of high-quality products to help make your home look great and function better. Shop with us today and light up your home with style and confidence!
Tags: exterior light fixture, exterior lighting, Light fixture, mobile home

