With the season change now in full swing, you may have noticed a shift in your local grocery store or shopping center. Perhaps you’ve made note of the sudden appearance of pumpkin spice products (hundreds of them!), the resurgence of Boo-berry and Franken-berry cereal, or maybe, like me, you’ve just found yourself walking aimlessly through the endless aisles of multi-colored candy. Which can only mean one thing – Fall is officially here.
And with it comes Halloween.
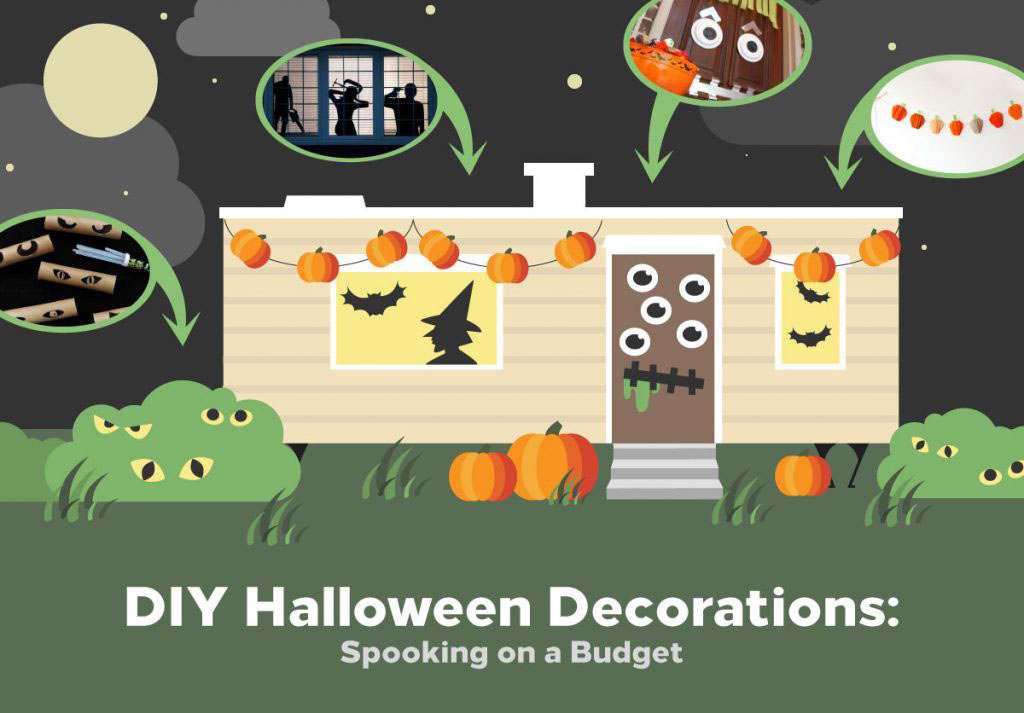
A holiday full of scary stories, sugary candies, and decidedly creepy mobile home decor. What better way to usher in the season? Whether you’re a fan of the full-on horror approach, a traditionalist, or a quick DIY Halloween craft queen, we’ve compiled a list of 15 budget-friendly DIY Halloween decorations to suit everyone’s tastes.
1. Taking it Upscale2. Going Traditionally Cheesy3. Heightening Your Haunt
I. Taking it Upscale
1. Origami Pumpkin Garland
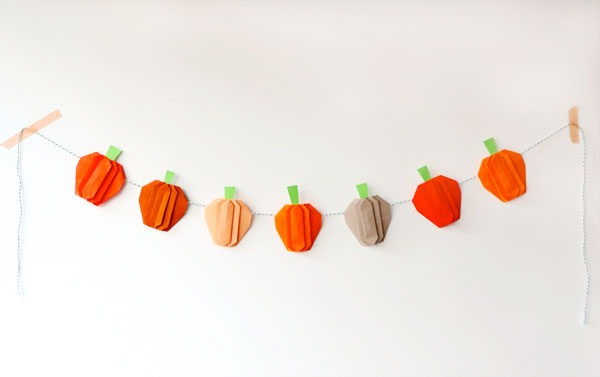
Image courtesy of My Poppet Makes.
This is an easy Halloween decoration for crafting novices and pros alike! All you need is a variety of colored origami paper, twine, sticky tape, and scissors! However, if you don’t have any origami paper, you can easily substitute construction paper or any wrapping paper you have on hand. Just be sure to cut each sheet down to a 3 x 3 square for easier folding.
Find the tutorial at My Poppet Makes.
2. Lacey Ghosts
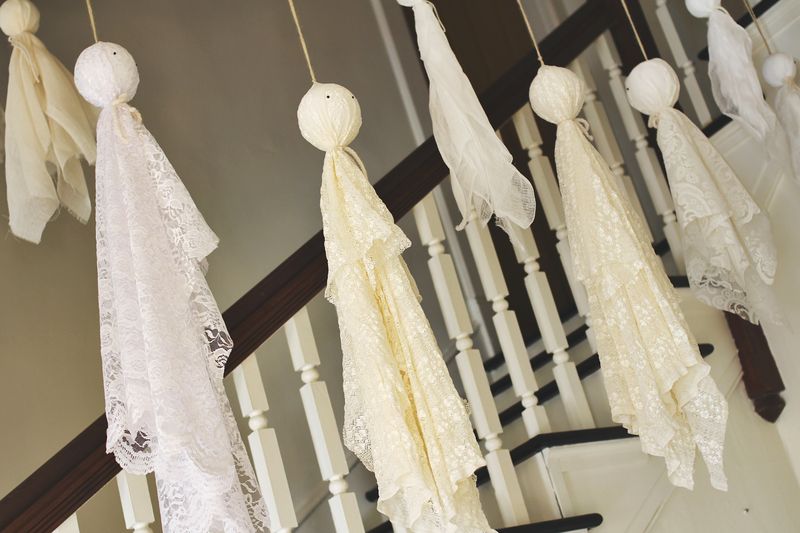
Image courtesy of A Beautiful Mess.
Liven up your halls or doorways with these crafty ghouls. All these fancy ghosts need are Styrofoam balls, white linen like lace or cheesecloth, black sewing pins, a tapestry needle, and string or twine! Use fishing wire to make your ghosts float midair! You can even add some additional touches like colored ribbon or fun craft eyes.
Find the tutorial at A Beautiful Mess.
3. Candy Corn Bottles
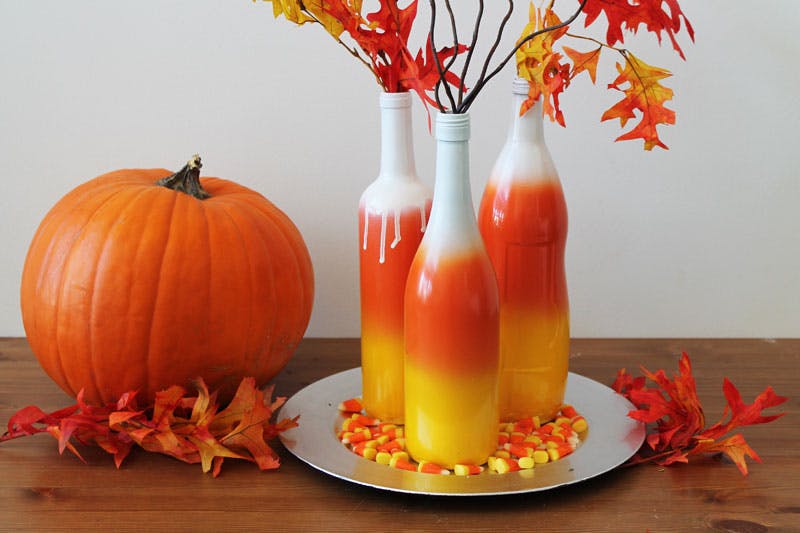
Image courtesy of Brit + Co. .
Though an often dreaded Halloween treat, this upcycle project may just change the way you look at this classic fall candy. All you need is some orange, white, and yellow spray paint, some empty wine bottles, and a couple minutes to let the paint dry. You can even keep this inexpensive Halloween decoration for your Thanksgiving table!
Find the tutorial at Brit + Co.
4. Pumpkin Village
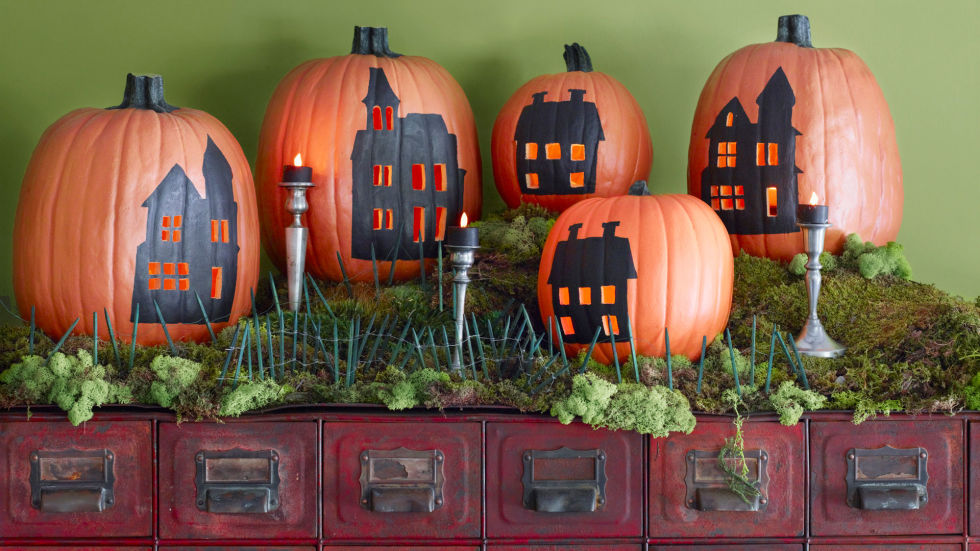
Image courtesy of Country Living.
Take a different route with pumpkin carving to create a piece for a mantel, side table, or entryway. All you need is 4-5 pumpkins, these stencils courtesy of Country Living, a pumpkin carving knife, black acrylic paint, and battery-operated votive candles. It takes a little bit of work, but this DIY Halloween project is sure to impress!
Find the tutorial here at Country Living.
5. Poison Bottles
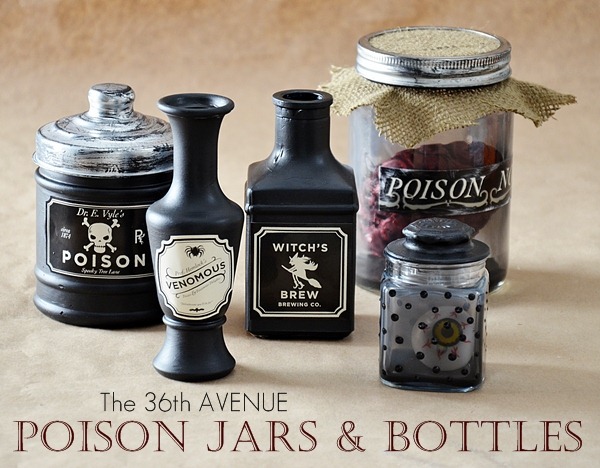
Image courtesy of The 36th Avenue.
Here’s another great way to repurpose any old glass jam jars or bottles you have lying around! Paint each bottle with DecoArt Glass Stain and Chalkboard Paint and place label stickers like these free apothecary labels courtesy of Lia Griffith on each one. You can also leave some of the bottles clear and fill them with fake brains, dried flowers, or water dyed to look like formaldehyde.
Find the tutorial here at The 36th Avenue.
2. Going Traditionally Cheesy
1. Eyes in the Bushes
Image courtesy of Rust and Sunshine.
One of the great things about this DIY Halloween project is that you can use any type of cardboard roll you have lying around, be it a paper towel roll, a toilet paper roll, or a wrapping paper tube. It all depends on the size of the eyes you want! Try a couple of each roll for a diverse set of spooky monsters!
Find the tutorial here at Rust and Sunshine.
2. Mason Jar Jack-O-Lanterns
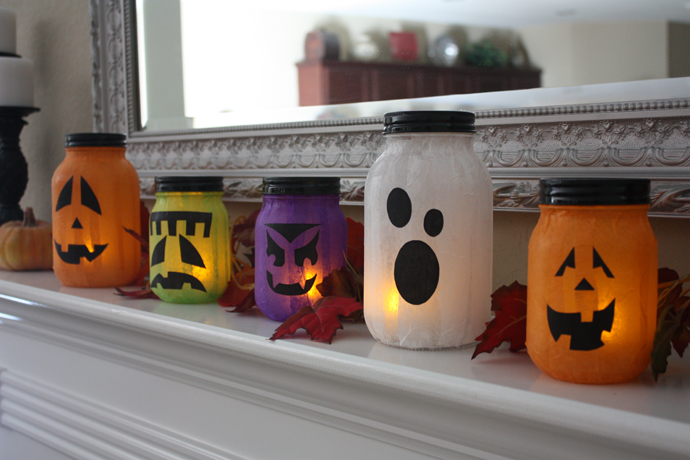
Image courtesy of My Crafty Spot.
If you aren’t sure where you’ll be from one week to the next, this is the DIY Halloween decoration for you. Reusable and long-lasting, these mimic Jack-O-Lanterns will save you both time and the hassle of carving an actual pumpkin. All you need is mason jars, tissue paper, tape, mod podge, and battery-operated tea lights.
Find the tutorial at My Crafty Spot.
3. Paper Bag Candy Bowls
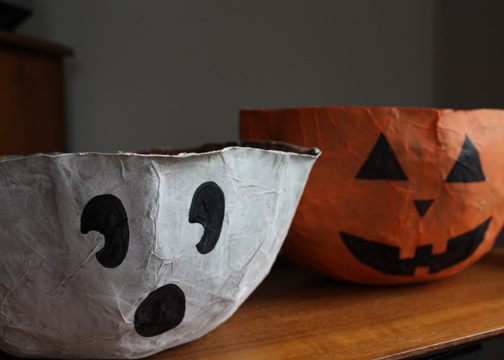
Image courtesy of The Long Thread.
Recycle old paper grocery and shopping bags into a cute and cheap Halloween candy dish. Take a mixing bowl – any size – and line it with plastic wrap or a plastic grocery bag. Then simply tear your paper bags into strips and dip them into a water/glue mix or modge podge before applying. After it’s dry, the ghoulish design is all up to you!
Find the tutorial here at The Long Thread.
4. Monster Doors
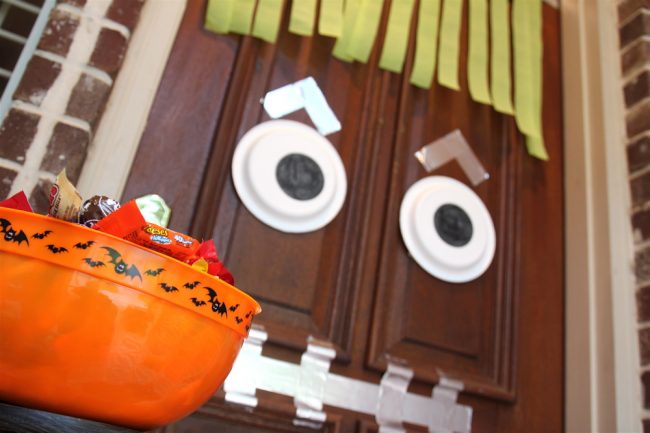
Image courtesy of Living Locurto.
The great thing about this DIY project is that you can customize it any way you’d like! You only need a few everyday items like construction, tissue or wrapping paper, tape (any kind), plastic cups, paper plates, and any other add-ons you choose!
Find the tutorial here at Living Locurto.
5. Monster Candy Jars
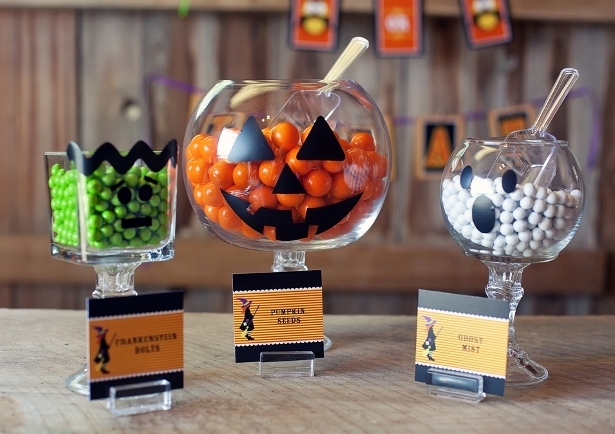
Image courtesy of The Celebration Shoppe.
This is a simple holiday upgrade that goes over well with visiting guests! All you need is glass glue, black vinyl, scissors, candlestick holders, and a few glass bowls – though plastic works just fine. After that, the spooky visage is up to you! Try filling each bowl with coordinating candy colors to really make them pop.
Find the tutorial at The Celebration Shoppe.
3. Heightening Your Haunt
1. Bloody Candles

Image courtesy of Sous Notre Toit.
If you’re looking for a bit of quick, subtle Halloween gore, this is the DIY Halloween decoration for you! All it takes is a couple of white and red candles, paper, and matches. For an extra brutal kick, try placing some cut tacks or push pins into each candle.
Find the tutorial at PopSugar
2. Window or Yard Cutouts/ Silhouettes
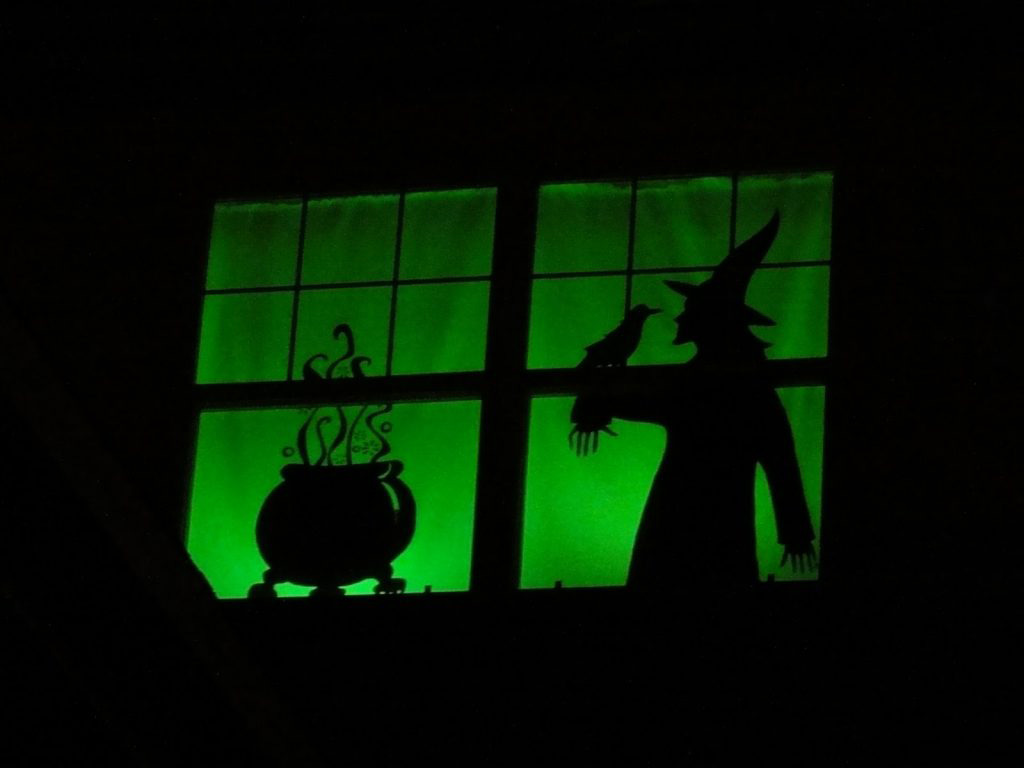
Image courtesy of Birshykat
Check out these haunting silhouettes! These window cutouts are a great space-saving Halloween decoration. You can either create your own, follow a free online template, or buy them directly online. They’re incredibly easy to make and install. Once you’re ready, just stick them to your windows with double-sided, transparent tape.
3. Paranormal Portraits
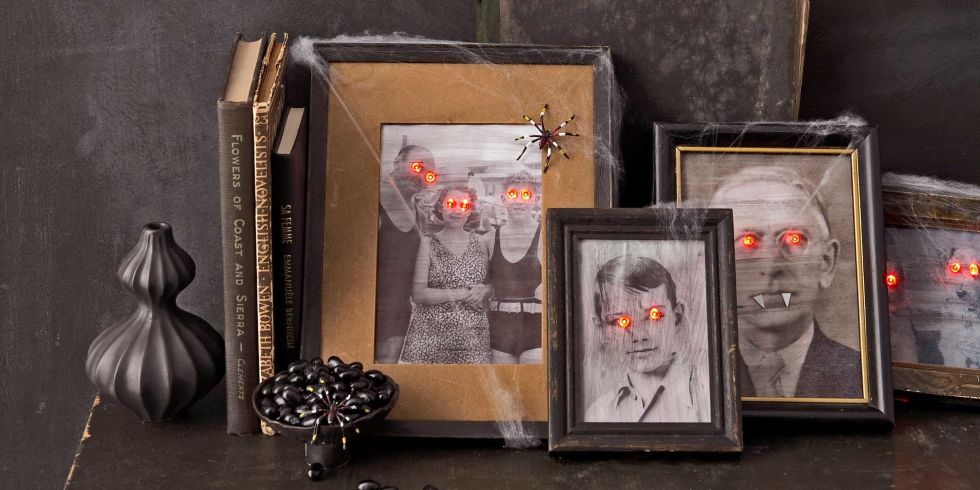
Image courtesy of CountryLiving.
There’s something unsettling about vintage photos during Halloween time. Whether it’s the disconnect from the time period or the likelihood that many of the photo’s subjects are deceased, they get creepy fast – which makes this DIY Halloween craft an easy scare! All you need is a little bit of cardstock, craft paint, and mini LED Christmas lights.
Find the tutorial at CountryLiving.
4. Specimen Jars
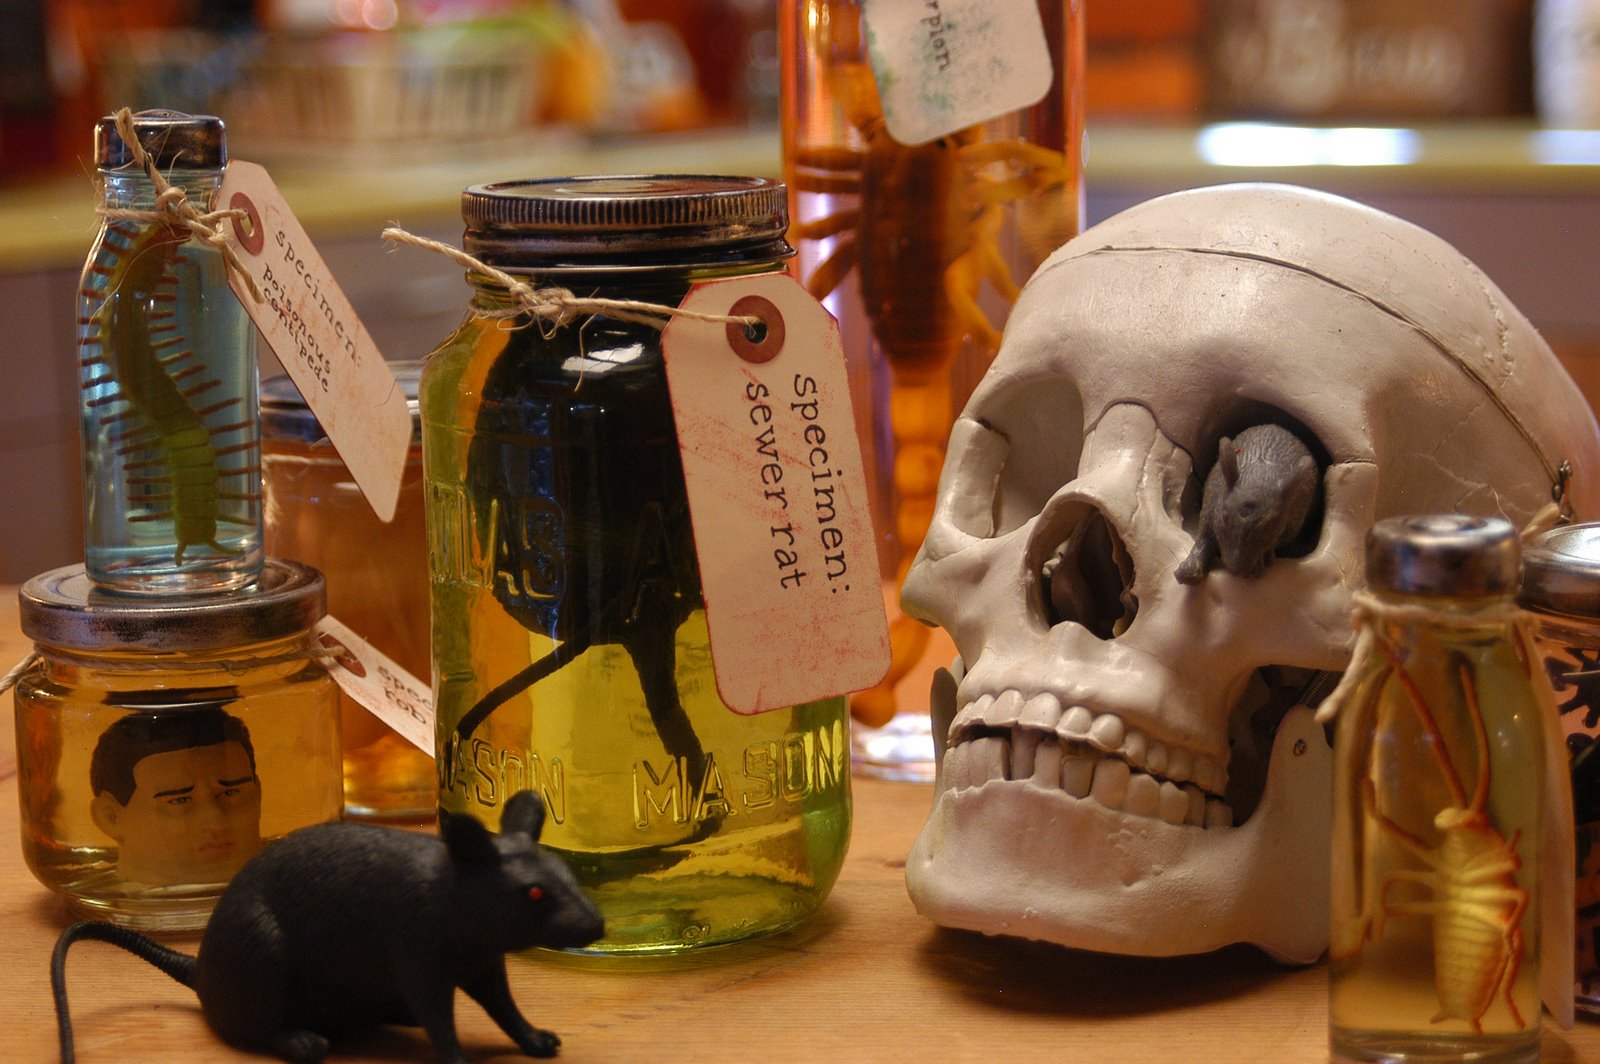
Image courtesy of Cathie Filian.
Make use of whatever empty jars you have lying around with a bit of food coloring and water! These mad scientist jars are easy to replicate and can be personalized any way you like. All you need is to decide what spooky critter or appendage you’d like to place inside.
Find the tutorial at Cathie Filian.
5. Spider Egg Sacs
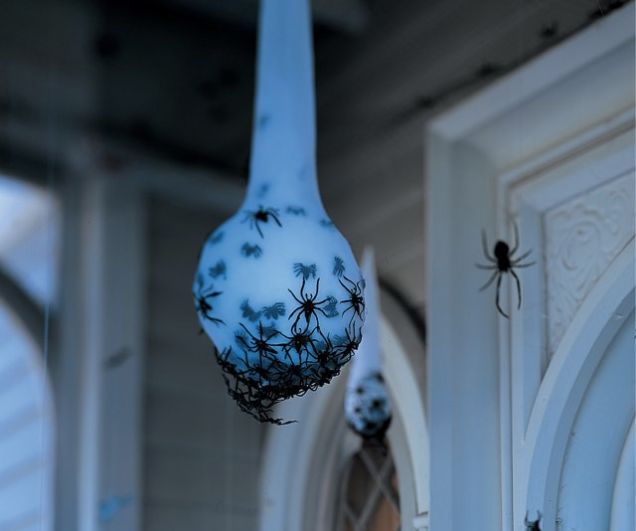
Image courtesy of Martha Stewart.
Play into your friends and family’s arachnophobia with these creepy DIY egg sacs. All you need are a few plastic spiders, a white stocking, hot glue, and a foam egg. You can even elevate your spider egg sacs with a bit of fake spider web.
Find the tutorial at Martha Stewart.


