


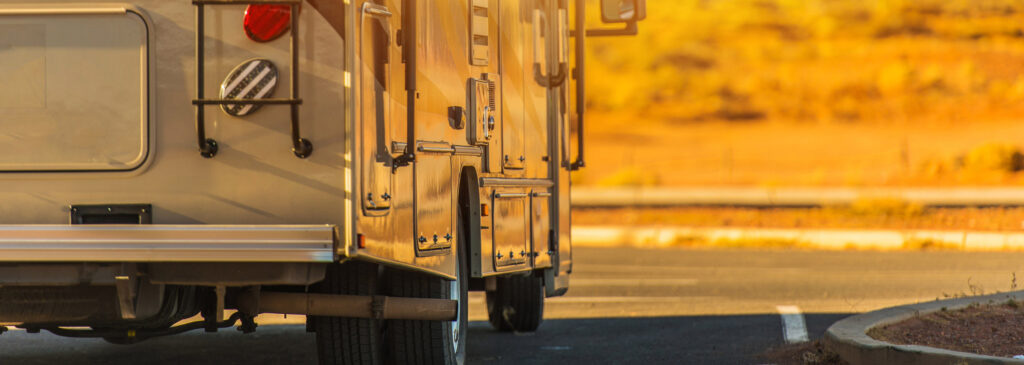
 Does your RV need some work done, but you don’t want to take money away from the vacation jar? Or do you like to tinker at home? Good news then, we have come up with essential DIY RV maintenance and repair tips to help you get you back on the road. While every RV is durable and rugged, eventually, you may come across an issue of needing repairs. For example, have you ever wanted to know how to replace your RV window screens or locate that pest water leak? Read on to learn some of the more common DIY RV maintenance and repairs that can save you time and money.
Don’t Wing RV Maintenance and Repairs!
First, if you are not experienced with repair work, you may do more harm than good. Similar to any other vehicle or piece of equipment, your RV has a lot of working parts. If you break more on a mission to repair it, you will create a headache for yourself and lighten your wallet in the process. When it comes to repairs, if you are uncomfortable, it is best to seek advice from a professional or friend who is handy.
With that being said, the longer you have owned your RV, the more familiar you may be with its various pieces and parts. So for those long-term RV veterans, you may feel comfortable enough to install some of your RV upgrades. But for individuals who are new owners, or shy away from vehicle maintenance, don’t do anything that you are unsure of.
With that, let’s shift this into drive and explore DIY RV Maintenance and Repairs your home away from home.
Replacing RV Window Screens
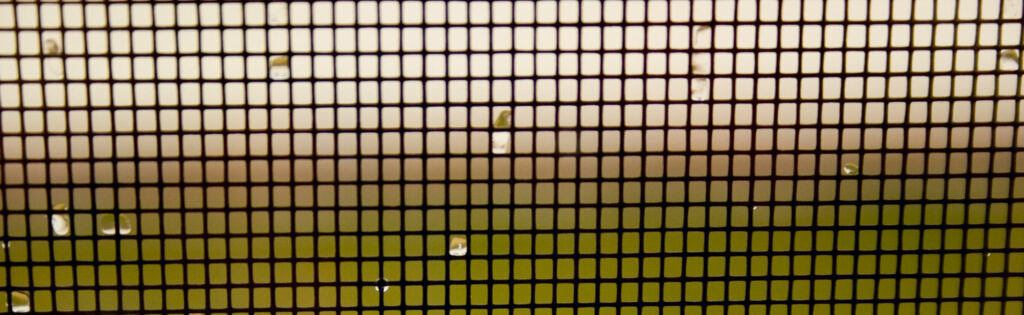
No matter where the road may take you, there is always one constant, bugs! The best defense your RV has against these invaders is your screens. Without them, you wouldn’t be able to open your windows and enjoy the fresh air or be able to hear the slamming of your screen door every minute as your family goes in and out. Therefore, knowing how to replace a torn or damaged RV window screen is an essential yet beneficial skill to maintain your RV.
Materials
- A putty knife
- A flathead screwdriver
- A razor knife
- A spline roller
Remove the Frame
Working on the flat ground or surface can make the repairing of your screen a lot easier. Most screen windows or doors should allow you to gently lift the screen frame from the bottom using a putty knife or similar tool to pop it out. In addition, some frames have latches or simple designs to remove the frame in seconds. Ensure your RV has one of these options before forcing the frame out with a putty knife or similar tool. Once the frame is removed, place it on the flat surface with room to roll out the new screen.
Remove the Old Screen
Place your flathead screwdriver or razor knife into the frame’s groove and scrape out the existing PVC splining and pull it out with your hands. Once the PVC spinning is removed, you should be able to pull the screen out of the frame with little resistance.
Installing the New Screen
The frame is now ready for the new screening. First, take the roll of screen and unroll it over the frame, which should still be lying on the ground. You will want to position it such that there is at least half an inch of overhang on each side of the frame. Next, cut the screen with your razor knife and a small 45-degree incision at each corner to make the insertion simple.
With your spline roller at hand, start at one of the corners, align the PVC spline with the frame groove and push it in. Keep the screen taut with your other hand when you roll the spline tool down the length of the groove. Once you reach the end of the side, cut the spline with a razor knife. Repeat this process for the remaining three sides. As you go, the screen will become tighter. Once you have finished all four sides, remove an excess screen with your razor knife.
Reinstall the Frame
Once the new screen is placed into the frame, reinstall it back into the correct window. Place the window into the top of the track and use a putty knife or flathead to gently lift the bottom to put it back into the bottom track. Check to make sure the window is operational by opening and closing it a few times. Make any adjustments needed if the frame does not slide correctly or at all. Once everything is back in and functioning correctly, you are ready to hit the road!
Rubber RV Roof Repair
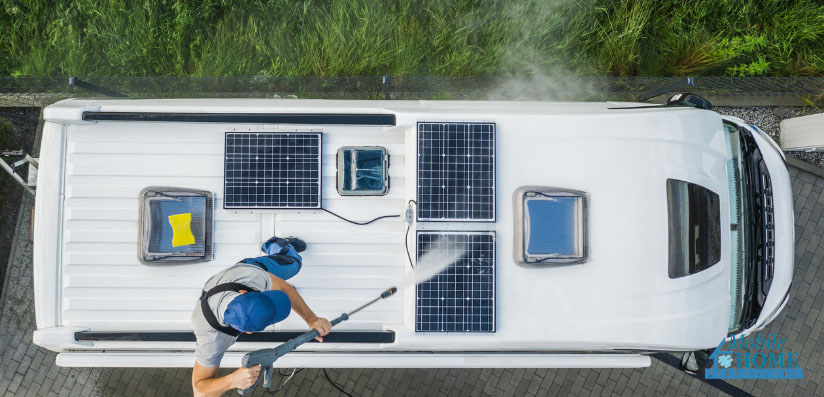
Ever wonder how to repair your RV’s roof? How you approach your RV roof repair project will largely depend on your RV’s roof material. RV roofs are constructed of either Rubber, fiberglass, or aluminum. Be sure to check out which type of roof your RV has before proceeding with this DIY, and as always, if you are not confident in your ability to repair this specific problem, do not hesitate to call a professional.
A Good Clean
The first step is always to start with a clean surface, no matter what kind of roof repair you’re looking to complete. Next, thoroughly clean the roof to remove any debris or grime that will prevent repair materials from adequately adhering to the surface. Make sure to use cleaners specifically made for RV roofs and your type of material. For example, petroleum-based cleaners, harsh abrasives, or citrus-based acidic cleaners can break down your roofing material and weaken it over time.
We recommend covering and taping off the rest of your RV with plastic to ensure the roofing cleaner or sealants do not drip on the sides. If you do not cover the sides of your RV, make sure to rinse any access with water.
Materials
- Rubber Roof Coating
- Roller Brush
- Plastic Cover for the sides of your RV (optional)
Applying Sealant
If your EPDM or TPO rubber roof appears chalky or flaky, it is likely time for a fresh coat of sealant. Over time the protective top layer will break down, leaving your roof vulnerable to water leaks and damage from ultraviolet rays from the sun. However, reapplying sealant is a pretty simple task.
Before starting, make sure to order the correct amount of sealant for the size of your RV and all of the proper materials. Look around to ensure it is still watertight and secure and does not need to be repaired prior. If your roof does need repairing, make sure to do this before applying the sealant.
Once your RV’s roof has completely dried and there are no repairs to be made, you can begin to apply the sealant. Be sure to follow the proper prep instructions detailed by the sealant manufacturer and accurate application. Most sealants are applied using a roller brush, much like you would with paint. After applying the roof coating, please wait for it to dry for a few hours, and the job is complete!
Resealing Joints
One of the most common issues with RV roofs is with leaks around the edges or joints. Antennas, screws, vents, air-conditioning units, and other rooftop protrusions have sealed seams prone to cracking and peeling. If your RV has water leaks, check to see if it is from joints on your roof becoming unsealed rather than through the membrane itself.
Joints can be resealed using a tube of self-leveling sealants. Follow the prep instructions on the bottle, and caulk around the leaking joints. Even if there is no apparent damage to the sealant, resealing the joints is the best prevention from a leak occurring.
Patching a Hole or Tear
If your RV’s roof has a small puncture or tear, it will need to be fixed with a patch. Most manufacturers have made patches and RV roof tapes that are easy to apply and are durable to get you back on the road.
You will need to clean the surrounding area affected and place the patch over for most patches, similar to that of a band-aid. Then, use a small roller to work out air bubbles and ensure it adheres properly.
RV Vent Lid Replacement
Replacing your vent lids is another great DIY RV maintenance and repair. Vents are a necessary component of any RV. They allow the flow of fresh air and can help to eliminate odors. In addition, your air conditioners and RV roof vents keep the circulation moving to make your RV vacations more comfortable for all.
Of course, as with anything else, there is a possibility of them breaking. This can occur by incidentally hitting a branch or sun damage. Here is a simple DIY that can help keep your RV cool all summer long.
Materials
- New Vent Lid
- screwdriver
Find the Right Vent Lid
The most challenging part of this DIY RV maintenance and repairs is finding the correct lid for your RV. It is best to write down any information you can about your current lid while maintaining excellent condition. This can help you find a replacement lid easily down the road and save you hours of leg work. However, if you could not jot down information about your lid before its damage, that’s okay. Most often, your local RV dealer can assist you with finding the correct lid for your RV.
Remove the Existing Lid
Whether you are removing your existing lid due to damage or age, the process is the same. For vent lids with a hinge attachment, you will need to remove the hinge pins. You may also have to remove a few screws depending on how your RV lid is attached. Once the hinge pins and possible screws are removed, you should be able to slide the vent off from where the hinge was placed.
Install the New Lid
Installing your new lid is the same procedure as the removal of your old lid. You will slide the new lid into place and reattach it using the hinge pins and screws. However, if you want to go the extra mile to ensure your new vent lid is reinforced, try using a self-leveling sealer to protect your RV better.
Sun-damaged Hatches and Trim
Over time the harsh exposure to the sun can lead your trim or hatches to fade or even become yellowed, ruining the overall appearance of your RV. This cosmetic DIY is a simple repair. So gather the following materials, and let’s get started.
Materials
- Medium-fine grit Sandpaper
- Painter’s tape
- Spray Paint that matches your RV
Use your medium-fine grit sandpaper, sand down all of the areas affected by the sun damage you want to refinish. Remove all debris from the site to allow the paint to adhere to your hatch or trim smoothly. Then, tape off the surrounding area you are refinishing to protect it from the color. Before applying the spray paint, it is best to test it before ensuring it will match your RV. This will save you a lot of time trying to either remove new paint or paint the RV’s rest. Once you find a can of spray paint you are satisfied with, apply it to the damaged area. You will need to use multiple layers to Cover the sun-damaged area fully.
Once the fresh paint is completely dry, you can remove the painter’s tape. Consider caulking around the panel in a similar color if it is needed. Caulking around the panel can improve the overall appearance of the refinishing and make your RV look new.
Remember, part of routine RV maintenance should include cleaning, waxing, and sealing your RV. This can help prevent and reduce some of the more common types of sun damage.
Identifying Water Leaks
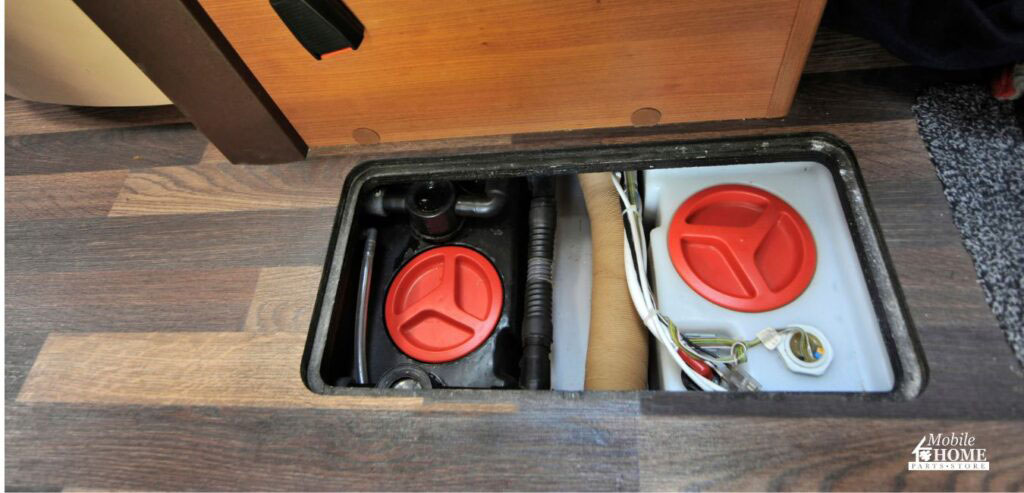
Water leaks are nothing to brush off! Like in your home, RV water leaks can cause severe water damage and become costly to repair. Unfortunately, it can be challenging to locate where the water is coming from or if it is leaking at all.
For this DIY RV maintenance and repairs, the best method to identify a water leak with your plumbing is to look at your water pump. Start by shutting off every faucet within your RV and keep an eye on your water pump. If the water continues to cycle, water is being released somewhere, allowing the pressure to decrease.
Another method is to look underneath your RV to see if any moisture or pooling is underneath it. For example, if there are puddles of water on a dry day, there is likely a leak.
Once you know there is a leak, you can start working on hunting down where the leak is coming from. If you are familiar with plumbing or know a handy friend, it should not take long to locate and fix the issue. However, if you are not familiar with the plumbing of your RV, seek out professional help as soon as possible. Water damage can be costly.
DIY RV Maintenance and Repairs Summary
Preparation is critical with all of your DIY RV maintenance and repairs. Make sure you feel comfortable and familiar with your RV parts before starting any DIY project. Whether you have been a long-time RV owner or are new to the road, we hope these simple DIY maintenance and repair tips keep you cruising. So, what is your next DIY RV project?
Tags: diy, RV, rv maintenance, rv parts, rv repair, RV supplies

