


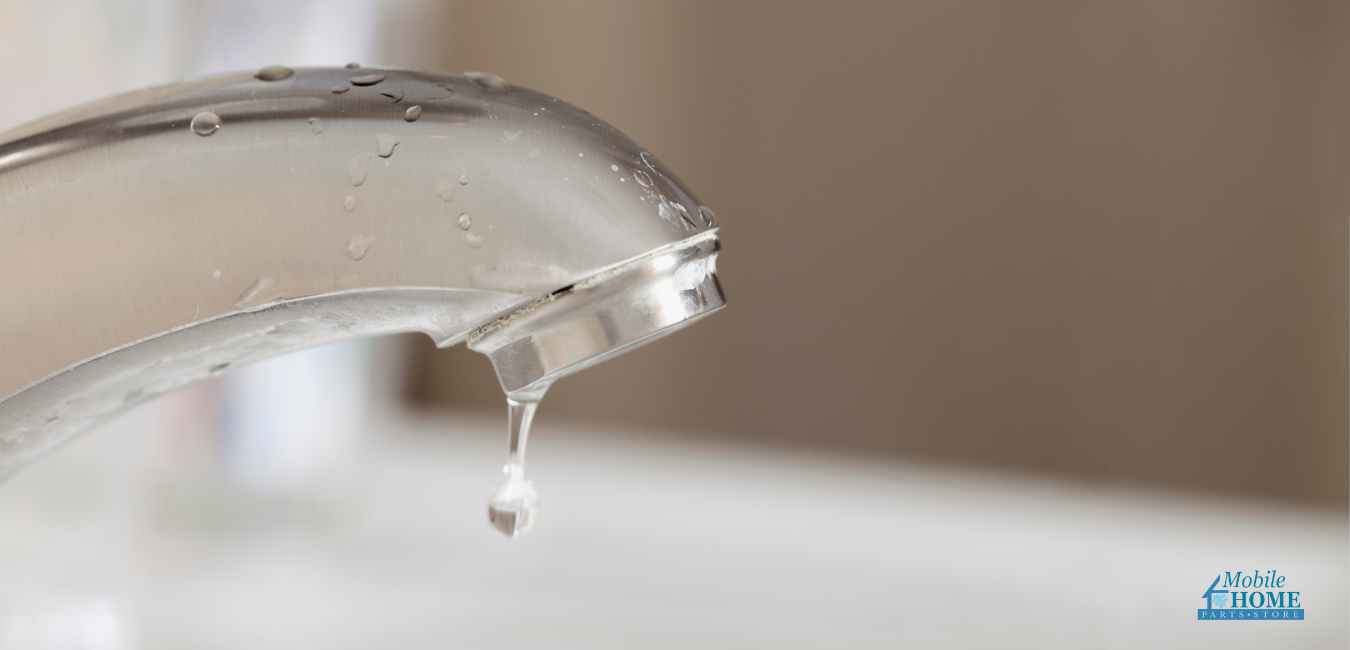
Dealing with a leaky faucet in your mobile home can be a real nuisance. Not only does it waste water, but the constant drip-drip-drip can also drive you up the wall. Luckily, fixing a leaky faucet in your mobile home is a manageable task you can do yourself with a few tools and patience. This guide will walk you through the steps to fix a leaky lavatory faucet, ensuring your mobile home bathroom is back to tip-top shape.
Step 1: Shut Off the Water
Before you start fixing a dripping faucet, the first thing you need to do is turn off the water supply. Look for the shut-off valves located under the sink. There are usually two valves—one for hot water and one for cold. To turn off the water, twist both valves clockwise. If you can’t find the shut-off valves or they aren’t working, you might need to turn off the main water supply for your mobile home.
Once the water is off, turn on the faucet to let any remaining water drain from the pipes. This will help you avoid spills while you’re working.
Step 2: Remove the Handle
First, make sure the water supply is turned off to prevent any leaks. Now, you can start taking apart the faucet, beginning with the handle.
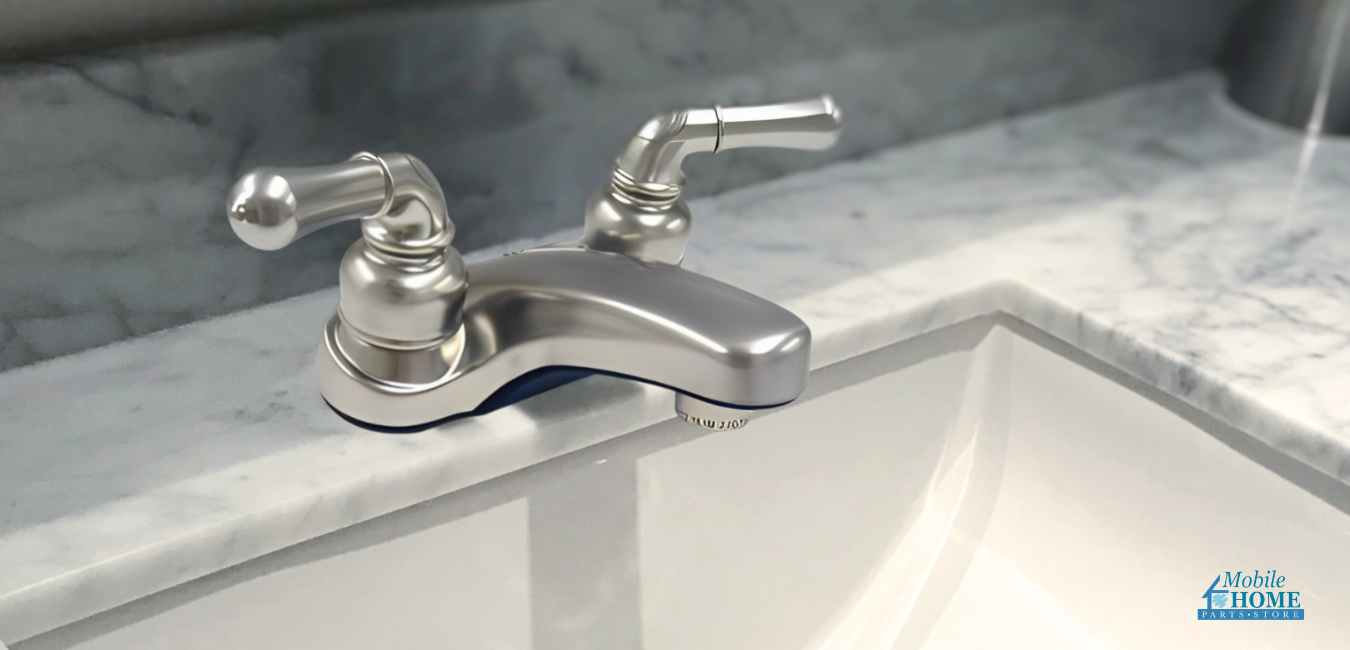
The way you remove the handle depends on the type of faucet you have:
- If there’s a set screw behind the handle, use a hex key or Allen wrench to turn and remove it.
- If the handle has a screw cover on top, carefully pry it off with a flat screwdriver. Using a Phillips head screwdriver, loosen the screw underneath and pull the handle off.
If you’re working with a leaky shower or bathtub faucet, the process is slightly more complicated:
- If the handle has a cap, use a flathead screwdriver to remove it. Then, unscrew the handle using a Phillips screwdriver.
- Next, take off the faceplate behind the handle. If it has threads, unscrew it from the wall.
- Look for the shower valve under the metal sleeve covering. Pull it off or unscrew it. However, if the shower valve has a locking clip, carefully pry it off with needle-nose pliers or a screwdriver.
Step 3: Remove the Cartridge or Stem
Now that the handle is off, you can access the cartridge or stem inside the faucet. This is the part that regulates the flow of hot and cold water. A worn-out cartridge or stem is often the cause of leaks.
- Identify the Type of Faucet: Mobile home bathroom faucets generally come in cartridge faucets and compression faucets. Determine which type you have by the way the handle moves: cartridge faucets move up and down smoothly, while compression faucets require more turning.
- Remove the Retaining Nut: Use a wrench or pliers to remove the retaining nut holding the cartridge or stem in place and set it aside.
- Extract the Cartridge or Stem: Carefully pull the part straight up and out of the assembly. You may need to twist it slightly to loosen it. If it’s a cartridge faucet, it should slide out quickly; if it’s a compression faucet, you’ll need to unscrew the stem.
Step 4: Install New Cartridge
Now that you’ve checked the cartridge or stem and identified it as the source of your dripping, you’ll have to replace it.
Cartridges and stems vary in size and shape, so the best way to find the correct replacement is by knowing the faucet’s manufacturer and model number. If you’re unsure, take the old cartridge or stem to the store. This way, you can use a reference guide to match it precisely with the replacement you need.
- Clean Up the Inside: Clean and dry the area around the handle with a cloth to remove any debris or mineral buildup. This will help ensure a proper fit for the new cartridge or stem.
- Inspect the O-rings around the housing. Replace any that look damaged or worn.
- Insert the New Cartridge or Stem: Gently slide the new cartridge or stem into place, making sure it is aligned with the grooves inside. For compression faucets, screw the new stem in place.
- Replace the Retaining Nut: Once the new cartridge or stem is in position, secure it by tightening the retaining nut with a wrench or pliers.
- Check for Proper Fit: Look for any gaps or misalignments.
Step 5: Reattach Faucet Handle
With the new cartridge or stem installed, the final step is to reattach the faucet handle.
- Position the Handle: Place the handle back onto the faucet, aligning it with the screw hole.
- Insert and Tighten the Screw: Insert the screw you removed earlier and tighten it with a screwdriver. Be careful not to overtighten, as this can strip the threads or crack the handle.
- Replace Decorative Cap: If your faucet has a decorative cap, snap it back into place.
Step 6: Test the Faucet
Once everything is reassembled, it’s time to test your work.
- Turn On the Water Supply: Slowly turn the shut-off valves back on by turning them counterclockwise. If you had to shut off the main water supply, turn it back on.
- Check for Leaks: Turn the faucet on and off a few times, checking for any signs of leaks around the handle or base. Run both hot and cold water through your faucet for a few minutes to make sure your aerator, the piece that screws onto the end of the faucet spout, isn’t clogged. If it is, you will need to remove it and clean off the buildup that is hampering water flow.
Conclusion
Fixing a leaky faucet in your mobile home is a manageable DIY task that can save you money and prevent water damage. By following these steps—shutting off the water, removing the handle, replacing the cartridge or stem, and reattaching the handle—you can restore your mobile home lavatory faucet, to proper working order. Not only will you save water and reduce noise, but you’ll also extend the life of your faucet and improve its overall functionality.
With a bit of patience and the right tools, you can fix your leaky faucet and enjoy a drip-free bathroom once again. Happy repairing!
Tags: lavatory faucet, leaking faucet, mobile home, mobile home bathroom faucet, mobile home plumbing, plumbing

