


Fixing a running mobile home toilet can be relatively easy for many beginners. However, if you do not have any experience with your mobile home’s plumbing or toilet, it might not be as easy. Typically, a running toilet results from three main parts insides of the tank, the overflow tube, flush valve, and the fill valve. We will guide you through checking and replacing each of these three parts inside your toilet’s tank.
Materials and Equipment
Equipment
- Bucket
- Towels
- Screwdriver or pliers
- Channel Locks
Materials
- Flush Valve
- Flush Valve Chain
- Fill Valve
Instructions
Problem With Your Toilet’s Overflow Tube
The overflow tube prevents the toilet tank from overflowing if the fill valve does not turn off. The overflow tube is a hollow tube connected to the flush valve. There are several reasons why water flows into the overflow tube and causes the toilet to run continually.
1. Check the Water Level
You can check the water level by first removing the lid of your toilet’s tank and verifying how high the water is. The water level inside the toilet’s tank should remain below the overflow tube and the fill valve to prevent a continuous flow into the tank and out through the overflow tube.
If the water runs into the overflow tube, the access water will need to be removed. However, if the water is not running into the overflow tube, then the issue is with your flush valve. For more information on fixing your flush valve, scroll down to Problem with the Flush Valve for more details.
2. Adjust the Float Rod/ Float Cup
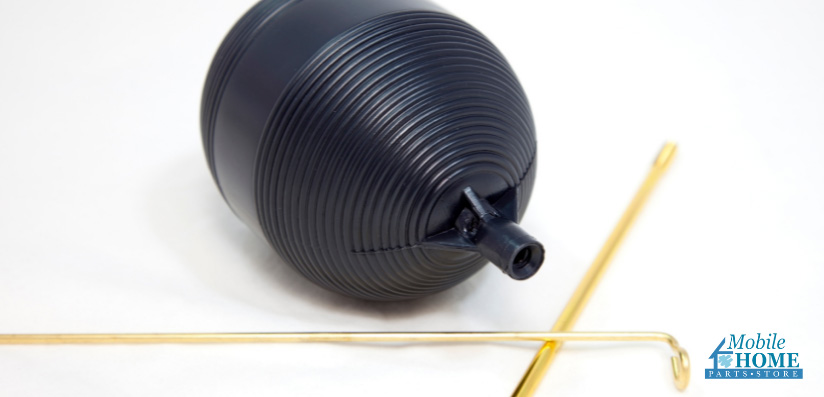
To lower the water level inside the tank, you must adjust the float rod/ float cup. The float rod is the horizontal rod extending from the toilet’s fill valve to a floating ball. In contrast, a float cup is a small cylinder wrapped around the fill valve and slides up or down based on the water level.
Once you have identified the float rod/float cup, you will need to locate the screw attached to the fill valve. Use a screwdriver, channel locks, or pliers to screw a quarter turn counterclockwise to lower the water level. Continue to adjust by turning the screw slowly until water is no longer flowing into the overflow tube. It is essential to also check your float for trapped water. Water-logged floats will sit lower in the water and leave your valve partially open. Check your float by unscrewing it and shaking it to hear water inside.
If water continues to flow, regardless of the position of the float rod/float cup, your issue is likely with the fill valve. Scroll down to Problem With the Fill Valve if this occurs. However, if the water stops flowing, but the amount of water inside the tank is not enough to fill the toilet if flushed, then the issue is your overflow tube is too short for the toilet.
3. Verify the Overflow Tube Height
Overflow tubes prevent the toilet tank from overflowing, but the water will continuously flow into the tank and out the overflow tube if the tube is too short. The overflow tube could be incompatible with the toilet or was installed too short during installation.
If the overflow tube is too short for your tank, you will need to replace the flush valve. Ensuring the new flush valve is compatible with your toilet is crucial. In addition, the overflow tube should be taller than the previous overflow tube to prevent the water from continuously draining.
Problem With Your Toilet’s Flush Valve
The flush valve is responsible for releasing the water inside your tank when the toilet is flushed by opening and closing the flapper. The flapper opens to fill the toilet bowl with the water stored in the tank. When the flapper is closed, water can refill in the tank of your toilet. The flush valve consists of an overflow tube, the tank-to-bowl hardware, a tank-to-bowl gasket, a flapper, and the flapper’s connecting chain.
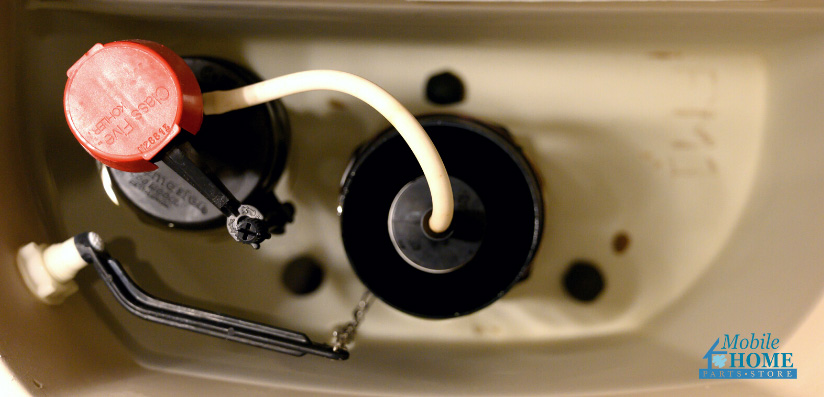
1. Check the Flapper’s Chain
The flush valve’s assembly is typically the issue with a constantly running toilet. Since there are several issues within the flush valve, it is always best to start with the chain and flapper.
If the connecting chain to the flapper is too short, it will not allow the flapper to close correctly. In addition, if the chain is too long, it might get trapped underneath the flapper resulting in a leak. Verify the chain is the correct length by allowing the flapper to close and open without adding a lot of extra chain.
2. Inspect the Flapper
If the chain’s length is not the issue, the next step is to look at the toilet flapper. The rubber flapper can become worn, warped, or simply dirty over time, causing it not to sit correctly inside the flush valve. If the flapper appears dirty, you will have to turn off the water to the toilet and drain the tank completely before washing it off with a water and vinegar solution. However, if the flapper appears to be warped or worn, it may be time to replace it.
3. Replace the Flush Valve
If you find that the water from the tank continues to leak into the toilet bowl and the overflow valve, flapper and chain are not the issues. It could be time to replace the whole flush valve.
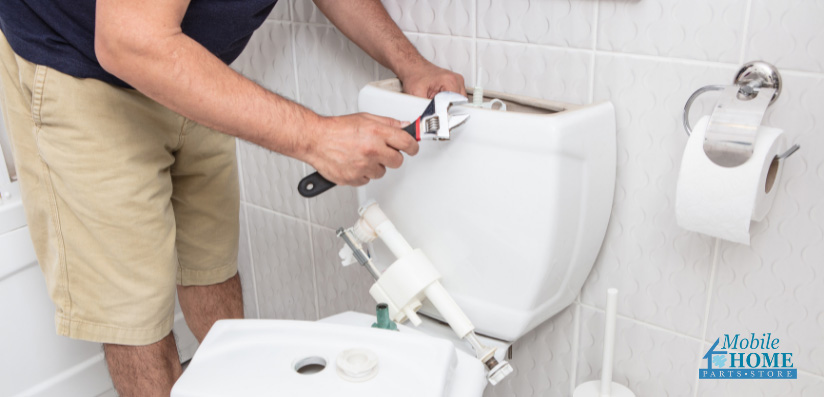
If this is the case, you will need to turn off the water to the toilet using the isolation valve in your water inlet line. Next, drain the toilet tank of water by flushing the toilet and using a towel to dry up any remnants of water before disconnecting the water supply to the tank with a set of channel locks.
Remove the old flush valve by disconnecting the flapper and removing the tank-to-bowl bolts. Then, carefully lift the tank off of the toilet so you can access the toilet-to-bowl gasket and loosen the flush valve nut. To make this process easier, have another person assist you with this.
Install the new flush valve by tightening the nut and replacing the tank-to-bowl gasket. Carefully place the tank back into place and reinstall the toilet’s hardwear. Reconnect the water supply back to the toilet and turn the water back on. Check for any leak at the tank base to avoid accidental water damage.
Test the new flush valve by flushing the toilet and then verifying the toilet has stopped running. If the water keeps running, the tank-to-bowl gasket or the flapper could not be installed correctly.
Problem With Your Toilet’s Fill Valve
The fill valve controls water flow from the main water supply to the tank. It will continue filling the toilet until the float arm or flow cup reaches a set level. However, a broken valve may cause water to run non-stop or turn on and off inconsistently. Excess water will flow into the overflow tube to prevent the tank from overflowing but the toilet will continue to run.
1. Verify a Faulty Fill Valve
You will be able to verify whether the fill valve is the issue by removing the top of the toilet tank and checking the water level and the height of the overflow tube. If the overflow tube is the correct height for the toilet and the water level is set to an inch below the top of the overflow tube, but the water continues to flow into the overflow tube, the issue is with your fill valve.
2. Replace Fill Valve
To replace the fill valve, you will need to turn the water off to the toilet with the isolation valve on the water supply line and drain the tank by flushing the toilet. Using a towel, soak up the excess water to dry the tank before removing the water supply line using channel locks.
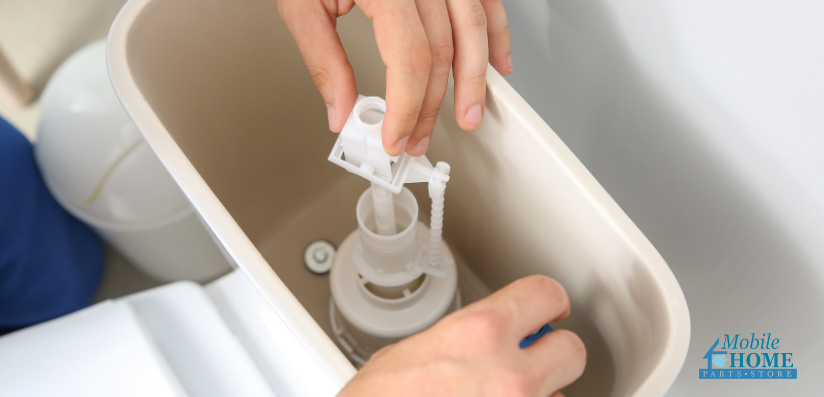
To remove the old fill valve, unscrew the locking nut on the bottom of the tank and pull the fill valve out of the tank. Place the old fill valve in a bucket in case of excess water.
Adjust the new fill valve to your specific toilet’s tank and water level height. Then connect the new valve by inserting the threaded end of the valve into the bottom of the tank, securing it to the tank, and locking the nut to ensure a water-tight seal.
Reconnect the water supply, and turn the water back on. If the replacement is successful, the fill valve will immediately fill the toilet’s tank with water and will stop when the float arm reaches the set level. Ensure to check for any leak at the base of the toilet’s tank to avoid any water damage.
Closing
Learning how to fix a running mobile home toilet can be pretty simple with the right tools, supplies, and patience. However, if you feel unease about fixing your running mobile home toilet, we encourage seeking professional help to get this done right. Do you need help finding all the products and supplies you need to get the job done? Not sure what parts and supplies you will need for this job? Try Mobile Home Parts Store fluidmaster complete toilet repair kit.
Tags: mobile home, mobile home repair, Repair, toilet

