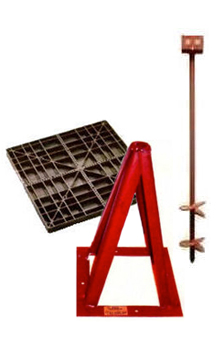
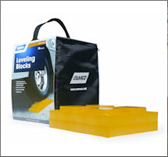
Items you will need to level your towable RV can be found HERE.
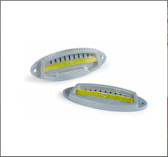
Step 1. You will need 2 levels. One should be large enough that you can read from the cab of your truck and the other can be smaller. It would be a good idea to use a carpenters level temporarily to insure the trailer is level before attaching the two permanent levels. The easiest way to get your RV level before attaching the permanent levels is to use a level driveway at home or other level concrete slab.
Step 2. Install the larger level anywhere you want on the front of your RV as long as you can see it clearly from the driver’s seat of the tow vehicle.
Step 3. The smaller level should be installed on the side of the trailer where you can watch it while you operate the tongue jack or landing gear.
Step 4. Next you will need 3 lengths of 2 x 8 wood with no knots or cracks. The length of the first board should be determined by measuring the distance between the axle hubs and adding 18 to 24 inches. The board should be long enough to allow each tire’s footprint to be completely on the board. Give yourself a little leeway so you will be able to stop the RV before rolling off the back of the board. How well you can control the RV when backing onto the boards will determine the length of that first board. The second board needs to be cut 5 inches longer than the first board. The third board should be 5 inches longer than the second board.
Step 5. Determine where in the campsite you wish to park the trailer. Keeping a good eye out for the most level spot will make things a lot easier in the long run.
Step 6. Now it’s time to start the leveling process. Position the trailer where you want it. Watch the large level on the front of the trailer as you position it. Sometimes the difference in being level or not is only a foot or two. If the large level on the front of the trailer indicates the trailer is level you are finished. If not, continue to the next step.
Step 7. Using the leveling boards discussed earlier, place one or more in front of or behind the low side tires.
Step 8. Drive onto the boards. Recheck your level. Repeat this by adding or removing boards as needed. This method results in the trailer being parked as much as three feet from the original position. If you are happy with that, skip to step 9. If you want to be level in the original spot drive the trailer forward or backward enough to clear the boards and place the boards in the tire tracks. Now start over step 8 and you should be in the original position.
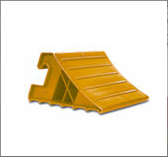
Step 9. Once you are satisfied with the side to side leveling, you can chock the wheels and detach your tow vehicle.
Step 10. Using the tongue jack for travel trailers or landing gear for 5th wheels, adjust your front to back level. Look at the small level you attached to the side of the trailer and ensure the bubble is as close to the middle as possible.
Step 11. Once you are satisfied that the trailer is reasonably level, lower any stabilizers to the ground to reduce rocking and bouncing. Use wood or plastic blocks under the jacks to avoid sinking the jacks into the ground.
Always chock the trailer wheels before detaching the trailer from the tow vehicle. This will ensure the trailer cannot roll in the event there is a slope front to back.
Remember to check our complete line of RV leveling and stabilizing products and purchase the items you will need before you get started.


