


 Photo courtesy of Carrie Savage, finalist in the 2016 Mobile Home Makeover Contest.
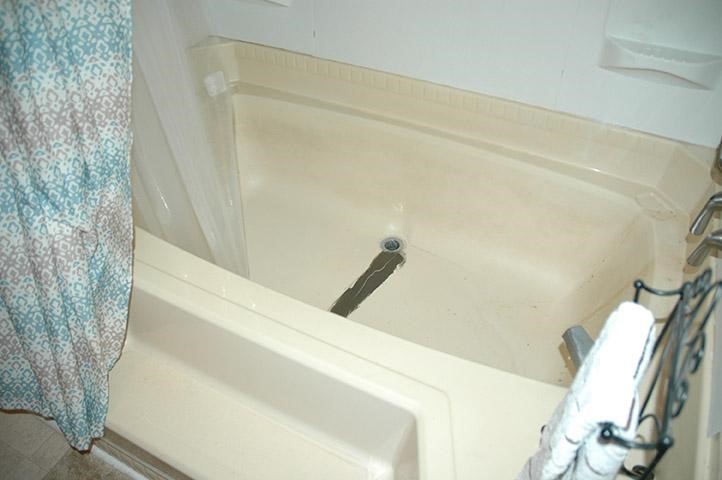
Over time a small crack, chip, or even a hole in your bathtub or shower pan is inevitable, especially for fiberglass and plastic. However, it will require immediate repair. The leak will travel fast to the walls and floors within a few days of leakage, resulting in severe water damage and mold growth.
Luckily, a new bathtub or shower pan is not necessary. Instead, a simple epoxy kit can fix cracks, chips, and holes in plastic, fiberglass, and ceramic showers or tubs. Keep reading to learn how mobile home shower repair is easier than you might think.
Consideration Before Bathtub and Shower Repair
Before making any changes to your mobile home plumbing, it is crucial to examine the problem. The state of your mobile home’s bathtub or shower will decide whether it is worth fixing. You can quickly repair some issues while others call for a replacement as the best course of action.
Use the Right Repair Kit
A bathroom repair epoxy kit is a quick and easy way to take care of cracks. The epoxy permanently seals on plastic, fiberglass, and ceramic when installed according to the instructions below. It sets up in 20 minutes, and you can use it on cracks less than 5″ long. For more extensive repairs, you can get multiple kits. Available in White or Almond/Bisque colored epoxy.
How to Use a Bathtub Epoxy Kit
Materials
- Epoxy kit
- painter’s tape
- small spatula, craft stick, toothpick, or other tools
Section Off Area with Painter’s Tape
You must clean the surface of the crack, chip, or hole thoroughly and carefully before applying the epoxy. You don’t need to clean the whole tub or shower, but you should clean off the area you’re repairing. Wash soap scum and other residues away with an abrasive cleaner, then clean it with cotton swabs and rubbing alcohol to remove any remaining residue.
Then prep the surface by sectioning off the holes with painter’s tape. I like to make a box shape around each hole. This will contain the epoxy when it runs and will help later when you start sanding the area.
Apply the Epoxy Kit
Before applying the epoxy, it is essential to have everything ready beforehand. You will only have about 5 minutes of working time before the epoxy starts to harden. Using the Devcon Repair Kit, press the epoxy from the bottom of the packet. Mix it with a small spatula, craft stick, toothpick, or another tool for about 45 seconds to ensure a complete mix. Then if you have an almond color bathtub or shower, mix the almond color packet into the epoxy.
Fill in Screw Holes with Epoxy
Use your mixing tool to smooth the mixed epoxy directly into the crack, chip, or hole. Fill the damaged area with thin layers of epoxy and smooth them in one direction. Be sure to build it up, so you have a little extra. Don’t worry if it starts to look gunky. You’ll smooth it out in the next step.
Place Plastic on the Epoxy and Tap Over Them
Once you have applied the patch, place the plastic sheet over the filled holes. Tap over the area to remove air bubbles and smooth the surface. Don’t worry; once everything is dried, the zip lock bag will come right off without any issue. Let the epoxy dry for the recommended time on the package, around 2 to 3 hours.
Sandpaper Over the Holes
Once the patch is dry, remove the plastic sheet and sand it gently with 400- or 600-grit sandpaper until smooth. Again, it is critical not to sand the surface of your tub, or it will remove the finish.
If the chip or crack after sanding is still present, your patch didn’t fill the damage. If this is the case, you can repeat the process and apply a second layer of epoxy. Then remove the painter’s tape, and you may use the tub or shower.
Tags: Bathtub and Shower Repair, mobile home bathtub, mobile home diy, mobile home projects

