


Have you ever plugged something into an outlet in your mobile home and felt a slight shock or noticed a loose connection? Maybe the outlet has a cracked faceplate or feels hot to the touch. You might even see sparks, smoke, or smell something burning. These are clear signs that it’s time to replace that old, worn-out electrical outlet. Replacing an outlet might sound daunting, but with a bit of guidance, it’s a project you can handle yourself. In this guide, we’ll show you how to replace an electrical outlet step-by-step. So, let’s get started!
Signs That Your Mobile Home Outlet Needs Replacement
Before diving into the replacement process, it’s essential to know the signs that indicate your outlet might need replacing:
- The plastic outlet cover is discolored, melted, or has visible damage.
- You see smoke, sparks, or smell burning odors coming from the outlet.
- The outlet cover feels hot to the touch.
- Plugs no longer fit properly or fall out of the outlet.
- The outlet only has two openings for prongs.
- The ground-fault circuit interrupter (GFCI) no longer trips.
How to Replace Your Electric Outlet
Now that you know when to replace an outlet, let’s dive into the steps to do it safely and correctly. Before we begin, make sure you’re comfortable working with electrical wires. Also, check your local building codes to make sure this is a project you can complete yourself.
1. Check the Outlet
Outlets that feel hot or produce sparks, smoke, or a burning smell are dangerous and could start a fire. If you notice any of these signs, stop using the outlet immediately and call an electrician.
If an item plugged into an outlet isn’t working, test the outlet by unplugging the item and trying it in a different outlet. If the item works in the second outlet, there is likely a problem with the original outlet.
Once you know that the outlet isn’t working correctly, you can begin to figure out how to replace it.
2. Turn Off the Power
Safety first! Safety first! Go to your breaker box and turn off the power to the outlet you’ll be working on. Use a voltage tester or multimeter to make sure the power is off. If the tester still shows current, you might have turned off the wrong breaker. Keep turning off different circuits and testing the outlet until the tester shows no current. This step is crucial to avoid any risk of electric shock.
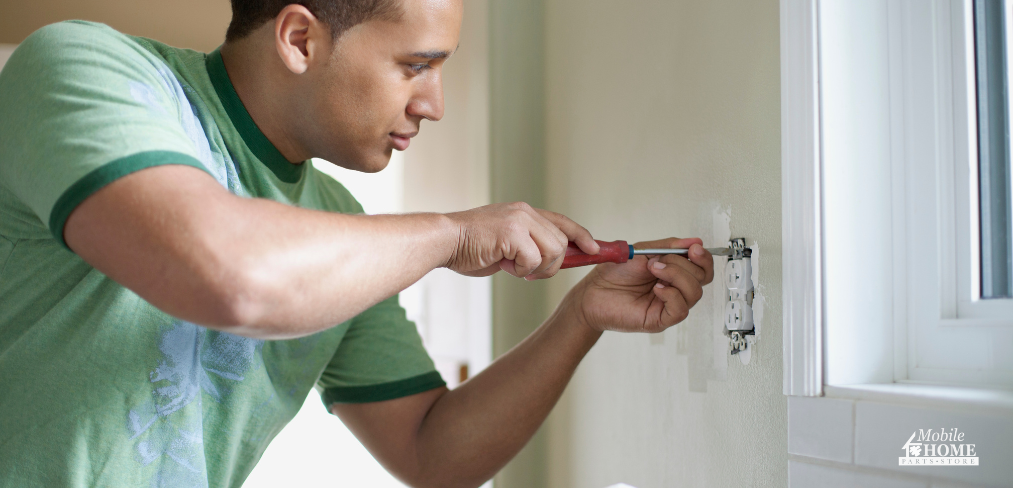
3. Remove the Wall Plate
Use a screwdriver to remove the screws holding the wall plate in place. Be careful not to touch the wires or terminals. Once the screws are out, gently pull the wall plate off the wall.
4. Double Check the Wires for Power
Even if a receptacle seems damaged, the wires might still be live. To ensure safety, use your tester to check both the top and bottom pairs of terminal screws.
In most newer outlets:
- Black Wire: This is the hot wire carrying live voltage. It connects to the brass screw terminals.
- White Wires: These are neutral wires and connect to the silver screw terminals.
- Grounding Wires: These can be copper or green-coated and attach to the green grounding screw on the receptacle.
Sometimes, an outlet might have more than one hot or neutral wire. For older wiring where both wires are black, use a receptacle analyzer to make sure the neutral wire goes to the silver terminal and the hot wire goes to the brass terminal.
When replacing an outlet, be sure to reconnect everything the same way it was before. Taking a photo with your phone can help you remember the original connections.
5. Determine the Right Size Outlet
Before buying a new outlet, check the size and type of the old one. Mobile homes might have different sizes than traditional homes. Make sure you have the correct size outlet before you start. If you don’t know, look at the wiring to find out what size you need. However, if you are still not sure what size you need, call an electrician.
6. Snip the Damaged Wire Ends
Once you’re sure the power is off, unscrew the terminals and pull away the wires. Do not twist them too much. If the wire ends are damaged or frayed, use wire cutters to snip off the damaged portion. Then, use a wire stripper to strip about ½ inch of insulation off the ends of the wires to expose fresh, clean wire. This gives you a fresh, clean connection point for the new outlet.
7. Install the New Receptacle
Now that your new outlet is ready, it’s time to hook it up. First, connect the wires to the new receptacle. Attach the black (hot) wire to the brass terminal, the white (neutral) wire to the silver terminal, and the green or bare (ground) wire to the green terminal. Be sure to wrap electrical tape around all terminals and bare wires to keep them safe.
Next, gently push the outlet back into the wall and screw it in place, making sure it’s straight. If your wall plate is cracked or damaged, swap it out for a new one. You might also consider getting a wall plate that matches your walls or fits better with your home’s decor.
8. Check Your Work
Now that everything is in place, turn the circuit breaker back on. Use a voltage tester to check if everything is working correctly. If your tests show no issues, congratulations! You’ve successfully replaced the electric outlet in your mobile home.
Conclusion
And there you have it! Replacing an electrical outlet in your mobile home is a straightforward task that you can tackle with a little bit of know-how and some basic tools. But remember, if you’re unsure about any step or feel uncomfortable working with electricity, it’s always best to consult a professional.
For all your mobile home electric needs, visit Mobile Home Parts Store for quality products and expert advice. They have everything you need to keep your mobile home in top shape.
Happy DIY-ing, and stay safe!
Tags: electrical problems, manufacture home, manufactured home, mobile home, outlets

