


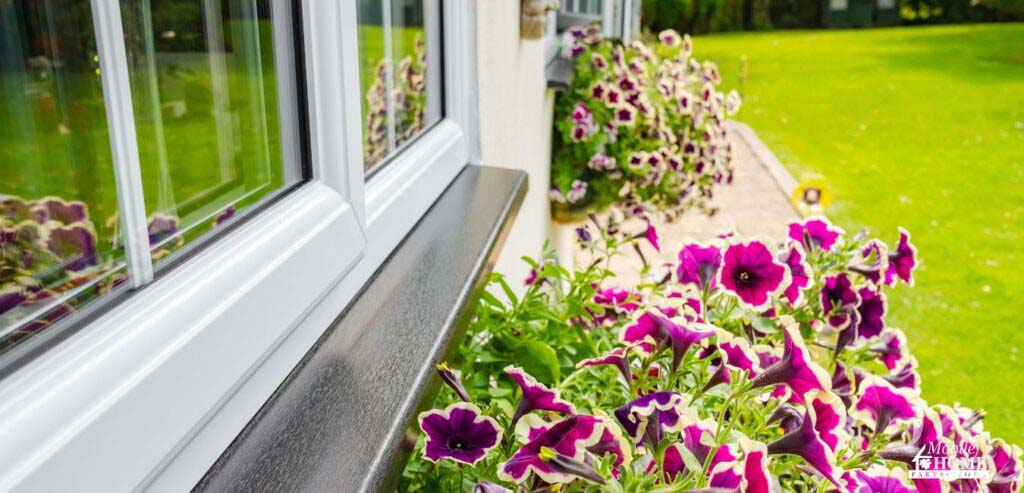
Remember the first time you felt a chilly draft while cozily curled up in your mobile home, only to realize the culprit was your old window? Or that annoying condensation that obstructed the view of your morning sunrise?
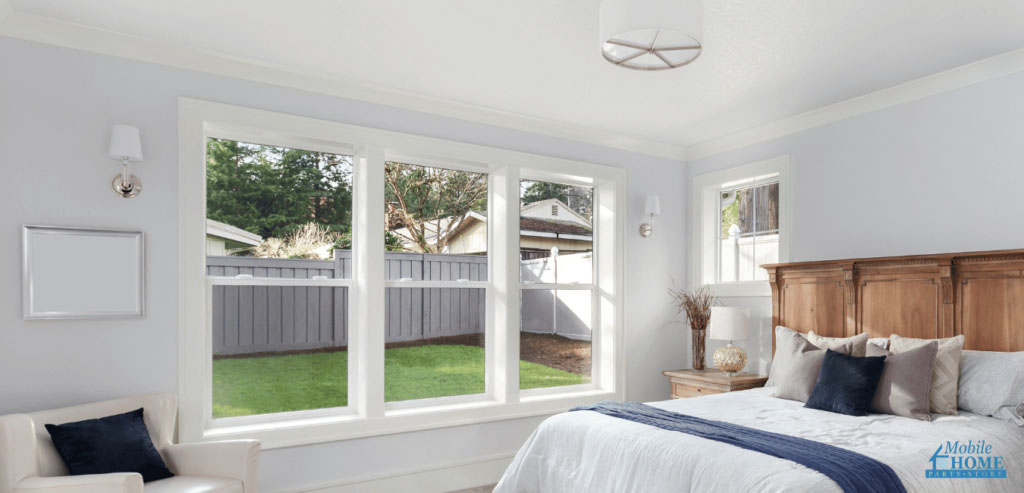
For any home, windows are a big deal. They play a critical role in your space’s comfort and energy efficiency. But just like any other aspect of your home, they sometimes need repair or replacement. If you’re a mobile or manufactured homeowner, it’s essential to understand when and how to replace your mobile home windows.
In this guide, we will cover the signs your windows might need replacing and how to choose the right mobile home replacement windows for your needs.
Repairing vs. Replacing Mobile Home Windows
The question always arises: should I repair or replace my window?
A window that is difficult to open might need some lubrication or a minor adjustment, and a window that lets in a small draft might require some new weatherstripping.
However, while minor repairs can extend the life of your windows, they only sometimes address the more significant underlying issues. Suppose you’re spending more on repairs and still not achieving the desired comfort or appearance. It might be time to consider mobile home replacement windows in that case.
Signs You Should Get New Windows for Your Mobile Home
Should you invest in new windows? Here are some tell-tale signs that it might be time:
Frequent Fogging Between Panes
Over time, it’s common for double or triple-pane windows to face an issue where moisture or fog accumulates between the glass panes from a failed seal. The only remedy is to replace the insulated glass unit by contacting the window manufacturer. However, if you have to replace them often, it might be time to get more durable windows.
Water Leak
A clear sign that your windows may require replacement is if water is constantly seeping in. Leaky windows can lead to mold build-up around the window frame.
Leaky windows are often a result of worn-out seals, poor installation, or damaged frames. Sometimes, it can be fixed by replacing weatherstripping or reapplying caulk. However, if you constantly see water pool around your windows or the start of mold growth, replacing your windows is a must.
Visible Damage or Hard-to-Open Window
Without careful maintenance, wooden and metallic frames can sustain much damage. Wooden frames can swell and rot if infiltrated by moisture. Meanwhile, some aluminum windows will undergo corrosion.
If your mobile home’s windows have cracks, rot, or warped frames, your windows need attention. Not only do damaged windows look unappealing, but they also compromise your home’s safety and energy efficiency.
However, suppose you find your windows difficult to open or get stuck. This might indicate that your window needs to be lubricated or your mobile home is no longer level.
Single-Pane Windows
If your mobile home is older, it might still have single-pane windows. While these might work, they are less energy efficient than modern double or triple-pane options. If you want to upgrade your home’s insulation, switching to double or triple-pane windows is a wise choice.
More panes or layers of glazing give you the following benefits:
- Increased insulation and energy savings
- Better privacy and outside noise reduction
- Better security
Choosing Mobile Home Replacement Windows
If you’ve realized it’s time to replace your windows, the next step is choosing the right frame. The two most common materials for mobile and manufactured homes are vinyl and aluminum. Each has its advantages and disadvantages.
Aluminum Windows
Aluminum windows have been used on mobile and manufactured homes for decades. While some might argue that they lack aesthetics, their functionality cannot be denied. They are strong, durable, and often more affordable than their counterparts. Their ability to resist rust and corrosion makes them perfect for regions with high humidity. It offers solid protection against severe weather conditions.
However, they do come with some drawbacks. Aluminum is a good conductor of heat, which means these windows are not as energy-efficient as other types, like vinyl. This can lead to higher energy bills as heat can easily escape in the winter and enter in the summer.
Vinyl Windows
Vinyl is the most popular window frame material for mobile and manufactured homes and for good reason. They offer excellent insulation, are resistant to UV rays, and need minimal maintenance. While they might be pricier initially, they can save you money in the long run on energy bills in the summer and winter months.
However, on the downside, they may not be as durable in extreme weather conditions, and over time, exposure to intense sunlight can cause them to warp or fade.
Low-E vinyl Windows
Low-E vinyl windows are an upgrade, even from vinyl windows. “Low-E” stands for low energy, as these windows are nearly perfect for insulating your home. They use a special tinted Low-E glass and argon gas to minimize thermal conductivity. to lower energy bills and create a more comfortable living environment.
However, while Low-E Vinyl windows can be more expensive upfront than other windows, they can drastically lower energy bills and create a more comfortable living environment over time. And if not correctly installed, there can be condensation issues, leading to mold growth or other problems.
Guide to Replacing Mobile Home Windows
Here’s a step-by-step guide to help you navigate the replacement process:
Materials and Equipment
Equipment
- Carpenter Square
- Hand Held Drill
- Measuring Tape
- Screwdriver
- Caulking Gun
- Steel Brush
- Putty and utility knives
- A level
- A small pry bar/crowbar
- Safety glasses/goggles
Materials
- Screws
- Caulking Sealant
Before You Begin
Measure the Window
Before purchasing a new window, measure the width and length between the rough opening of your current window. Measure all four sides as well as diagonally. Do not measure the outer frame of the existing window. This will result in the incorrect size.
The size must be an exact match for the window to fit. If the replacement window is too big, it cannot squeeze in. Also, if it’s too small, the window will fall right through!
How is the Current Window Mounted?
A hassle-free window replacement hinges on mounting and accurate measurements. Mobile home windows can have two different mounting methods:
- Flush-Mounted: The frame is attached over the siding with screws
- Lap-Siding Mounted: The siding covers the frame’s screws.
Suppose your window is set up using the latter method. In that case, you’ll need to take the additional step of removing the siding that overlays the window. To simplify the installation process, it’s best if your new window has the same mounting method as the previous one.
Choose Your Window
Choose between aluminum and vinyl based on your needs, energy concerns, and budget. Make sure it’s energy efficient to save on future bills.
Installing the New Mobile Home Window
Remove the Window
Remove the screws from the window frame. Remember to retain a screw or note its diameter to ensure the replacement screws fit well into the pre-existing holes. While the diameter is crucial, ensure that the new screws are longer than the old ones. Once all screws are out, carefully remove the old window with a pry bar or a similar tool, not harming the adjacent frame or wall.
Check the Window’s Opening
The opening should be 1/4-inch bigger in width and height than the portion of the window that goes into the opening. The rough opening sill must be square to the floor within 1/8″ across its width. Suppose the rough opening sill is out of square by a more significant amount. In that case, it may be impossible to shim and square the window in the opening.
Locate the Mounting Flange
Inspect the exterior face of the rough opening where the mounting flange of the window will contact. This area must not have gaps or voids beneath the mounting flange. The sheathing or exterior wall material to which the window will be fastened must be structurally adequate to anchor the window unit fully.
Check the Mounting Flanges for Damage
Inspect the mounting flanges to ensure they have not been bent or distorted during shipping and handling to the extent that they will not sit flat against the exterior perimeter of the rough opening. If bent or deformed, straighten the mounting flange so that it will make contact with the exterior face of the wall.
Check for Gaps
Windows must always be closed during installation. Make sure there are no gaps and voids between the mounting flange and the exterior perimeter of the rough opening. Cracks or space in this area may provide a path for water and air to enter.
Apply Sealant
Apply 3/4″ Putty Tape or a continuous 1/4″ bead of sealant caulk to the backside of the mounting flange, in line with the pre-punched holes or within 1/4″ of the outer edge of the mounting flange. If using a sealant caulk, install the window before the sealant sets up on the mounting flange.
Install the Window
Place the window in the opening with the window sill resting on the rough opening sill. If the rough opening sill is not square to the floor and you have elected to shim the window, place the shims beneath the lower corner until the sill is square. Shims must be placed beneath the extreme corners of the window frame. Additional shims must be placed every 12″ on the center to fully support the unit’s weight. Do not use shims on the header, or building loads will be transferred to the window, causing improper operation or failure.
Center the Window and Check the Installation
Center the window from left to right, but do not remove the sill from contact with the rough opening sill and any shims required to square the sill of the unit. While holding the window flat against the exterior wall, start a corrosion-resistant Hex Head Screw in the approximate center of one of the frame/jamb mounting flanges.
Continue installing screws in the following order:
- Center of opposite frame/jamb
- Center of head
- Center of sill
Re-check the window to ensure it is centered from side to side in the opening and that the window frame members are straight and the frame is square. Check to ensure the window operates; if it does not, remove the screws and reinstall. Continue installation of the rest of the screws, starting in the center of each member and progressing out to the corners. Note: Do not over-drive the screws; to do so will unduly deform the window frame and compromise the seal.
Wrapping Up
Having the right windows for your mobile home not only boosts its aesthetic appeal but also significantly impacts your energy efficiency and overall comfort. Understanding when to repair and when to replace is crucial for the longevity of your home. Mobile Home Parts Store offers window options to suit every need and preference.
Whether you’re leaning towards aluminum‘s durability or the energy-saving properties of vinyl, we’ve got you covered. So the next time you want to enhance your view or seal out the cold, remember we’re your one-stop shop for all your mobile home window needs. Make the smart choice, and let the experts at Mobile Home Parts Store guide your next window project.
Tags: Kinro Vinyl Window, mobile home, mobile home parts, Mobile Home Parts Store, mobile home windows, windows

