


Owning an RV comes with the joy of exploring the open road, but it also requires proper maintenance to ensure your home on wheels stays in top-notch condition. For most of us, that means checking the tires, water tanks, and electrical, but what about the water heater?
Most RV owners simply fill the tank up without thinking about maintenance; however, you can take a few steps to ensure your water heater works more efficiently. In this comprehensive guide, we’ll delve into how RV water heaters work, what can go wrong, and provide a step-by-step process for keeping it in top-notch condition.
Understanding Your RV Water Heater
An RV water heater is a vital component, providing hot water for cooking, cleaning, and bathing during your travels. An RV hot water tank heats the water in three main ways: Propane, electricity, or the engine’s heat.
Electric heating is usually the most straightforward option. However, using your engine’s heat is the most cost-effective. This method taps into the natural heat produced by your RV’s engine, making it an efficient way to warm up water. Most RV water heaters, though, offer dual fuel options, using both electricity and propane.
If you have a dual-fuel water heater, electric mode is often preferred because it’s more convenient—no need to light a pilot. Just flip the switch, and soon enough, you’ll have hot water ready to go. You can even use electric and gas simultaneously for a quicker hot water supply.
Common Issues with RV Water Heaters
While your RV’s water heater serves you well, it’s not immune to wear and tear. Understanding the factors that can compromise its performance is crucial.
Water heaters are prone to rust and corrosion because of how water is made and how the materials used to build the tanks, like steel, react to oxygen and moisture. When manufacturers design their water heaters, they have to consider several factors, including:
- Acidity: Gases, like carbon monoxide, can make water more acidic.
- Chemical processes: When steel meets oxygen or moisture, it starts to rust and corrode.
- Heat: Water heaters get really hot, and that heat can speed up the rusting and corrosion process.
- Different materials: Manufacturers use various materials in designing water heaters, creating an environment that speeds up corrosion due to electrical conductivity.
Anode Rods for Your RV’s Water Heaters
Putting in an anode rod—a sturdy rod made of either magnesium or aluminum (sometimes with a bit of zinc)— can help tackle many issues that can come up with water heaters. The anode rod is like a hero that takes the hit for the team—it’s the first to corrode, protecting the rest of the water heater.
Here’s how it works: the anode rod sends electrons into the tank, creating an environment that stops corrosion from happening to the tank and its parts. Experts often call the anode rod the “sacrificial lamb” because it sacrifices itself to keep the water heater safe.
The anode rod is made of a metal that willingly takes on corrosion so that the steel tank doesn’t have to. But here’s the catch: not every water heater brand uses anode rods, and some go so far as to cancel their two-year warranty if you install one.
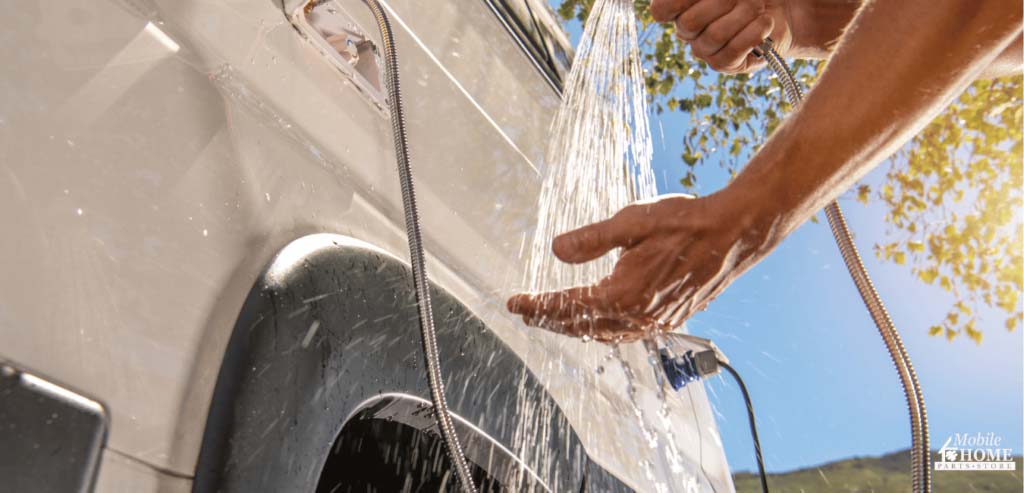
Cleaning Your RV’s Water Heaters
Cleaning a hot water heating tank? Yep! Maintaining your RV’s hot water heating tank is essential for its proper functioning and longevity. It’s a good idea to perform this task twice a year or even four times if you live in your RV full-time. The process involves draining, flushing, and cleaning the tank.
Your RV’s water heater tank has a curved shape, dipping down at the bottom. The tank’s drain plug, situated behind an access door outside your RV, is about 1 inch above the curved bottom. This is the spot where corrosion and other debris may accumulate, making it challenging to remove. Regular cleaning helps prevent these issues and ensures the tank operates efficiently.
How to Clean an RV Hot Water Tank
To clean your RV’s water heater, follow these steps:
- Turn off the water heater: Use the main control panel in your RV and find a small switch on the outside of your rig, behind the access door.
- Turn off the water supply: Disconnect from the park or shore water.
- Open the Pressure Release valve: It’s at the top rear of the water heater, behind the access door. It looks like a metal switch at the end of a small, short pipe fitting.
- Empty the Tank: Use a socket wrench to loosen the nut at the bottom of the water heater, outside your rig, and behind the access door. Be ready for hot water to gush out!
- Flush out the water heater tank: Use an RV Water Heater Flush Wand, moving it around to remove build-up. Keep flushing and cleaning for 5 to 10 minutes, draining the water.
- Inspect the Anode Rod (Optional): If it’s more than half deteriorated, replace it. Use the plumber’s Teflon tape for a tight, leak-free connection. Tighten securely, but not too much.
- Turn on the water supply: Depending on tank capacity, it may take 3 to 10 minutes to fill. Water will spurt out of the pressure release valve when the tank is full. Snap the valve closed.
- Inspect Your Work: Turn the water heater back on and make sure it’s heating water correctly.
That’s a Wrap!
As an RV owner, you know that your water heater plays a crucial role in making your travels comfortable. Therefore, taking the time to understand its operation and perform regular maintenance is a small investment that pays off in the long run. By understanding how your water heater works, recognizing potential issues, and following the step-by-step cleaning guide, you can ensure a consistent and refreshing hot water supply. So, embark on your journey with confidence, knowing that your RV’s water heater is ready to deliver the warmth you crave.
And remember for all your RV parts and supplies needs, look no further than Mobile Home Parts Store. Happy travels!
Tags: Mobile Home Parts Store, RV, rv maintenance, rv repair, RV supplies, RV water heater

