


When it comes to keeping your mobile home safe, properly installed smoke and carbon monoxide (CO) alarms are not just important—they’re essential! These small devices pack a powerful punch in protecting your home and family from serious dangers. Imagine waking up in the middle of the night, your smoke alarm blaring, alerting you to a fire. Or picture your carbon monoxide detector quietly working in the background, ensuring that you’re safe from an invisible, odorless threat.
Carbon monoxide is a sneaky gas; it’s colorless and odorless, making it completely undetectable by humans until it’s too late. That’s why having CO detectors in place is a must! If you’re looking to set up carbon monoxide detectors, this guide offers clear, step-by-step instructions on where to place them. Let’s get started!
Where to Place Your Smoke & Carbon Monoxide Alarm?
Knowing where to put your smoke and carbon monoxide alarms is crucial for keeping your mobile home safe. So, where should you place them? Here are some helpful tips:
- On Each Level: If your mobile home has more than one floor, make sure to install at least one alarm on each level. Don’t forget about the basement or attic if you have them!
- High on the Wall: For battery-powered alarms, mount them a few feet down from the ceiling rather than on the ceiling itself. Many battery-operated models work best when placed on the wall, so check the manufacturer’s instructions for details.
- Test Your Placement: Ensure you can hear the alarms from your sleeping area and other rooms where you spend a lot of time. This way, you’ll be alerted in case of an emergency.
- Keep Away from Heating Elements: Place alarms at least 15 feet away from heating or cooking appliances, such as stoves or dryers. Being too close can lead to false alarms.
- Follow the Manufacturer’s Instructions: Always check the manufacturer’s guidelines for the best placement and installation advice.
How to Install a Smoke & Carbon Monoxide Alarm?
Putting up smoke and carbon monoxide (CO) alarms is easy, but it’s important to do it right. Here’s how to install them correctly.
 Choose the Right Alarms
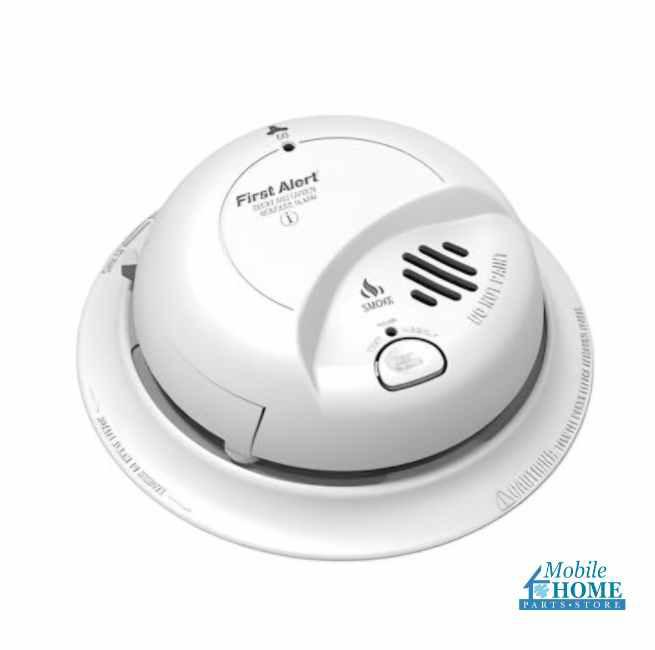
Look for combination smoke and CO alarm. They protect against both dangers and save space in your home. The BRK® AC/DC Smoke & Carbon Monoxide Alarm is a great choice. It has an electrochemical CO sensor, which is the most accurate way to detect carbon monoxide. If you have multiple alarms connected, the latching alarm indicator will tell you which one went off. Plus, it features two silence options: you can silence the low battery chirp for up to 8 hours or pause an unwanted alarm for a few minutes. When it’s time to replace the alarm, you’ll hear an end-of-life signal.
Step-by-Step Installation
Every alarm comes with its own installation instructions, so read them carefully before starting. If you’re using a battery-powered smoke and CO alarm, follow these steps. If you’re hardwiring the alarm, make sure the power is off first.
- Install the Mounting Bracket:
- Start by drilling guide holes for the plastic screw anchors.
- Use a drill bit that’s slightly smaller than the wall anchors to make sure they fit snugly.
- Use the mounting base to mark where to drill on the ceiling or wall, then drill the holes.
- Gently tap the plastic screw anchors into the drilled holes with a hammer.
- Partially screw in the provided screws into the ceiling or wall, then line up the mounting base with these screws.
- Attach the Alarm to the Bracket:
- Depending on your model, either twist or click the alarm onto the screws. Tighten it with a screwdriver to secure it to the base.
- Power Up the Alarm:
- If your alarm is battery-operated, insert the batteries.
- If it’s hardwired, connect the wires according to the manufacturer’s instructions. If you’re uncomfortable with electrical work, consider calling an electrician.
- Testing the Alarms:
- After installing, test the alarms by pressing the test button. You should hear a loud beep. If you don’t, check the battery and make sure the alarm is placed correctly.
Maintaining Your Smoke & Carbon Monoxide Alarm
Once your smoke and carbon monoxide alarms are installed, it’s essential to maintain them to keep them working well. Here are some simple tips to help you:
- Regular Testing: Test your alarms at least once a month. Just press the test button and listen for the sound. If you don’t hear anything, it’s time to replace the batteries or the whole unit.
- Replace Batteries: Change the batteries in your alarms every six months, even if you don’t hear any warning beeps. If your alarms use lithium-ion batteries, replace them about every ten years.
- Clean the Alarms: Dust can affect how your alarms work. To keep them in good shape, clean them once a year with a vacuum cleaner or a soft brush.
- Check Expiration Dates: Most alarms have a sticker showing when they were made. Make a note of this date and replace the alarms once they reach their expiration.
Protect Your Home with Mobile Home Parts Store
Knowing how to install smoke and carbon monoxide alarms is a simple job that could save lives. These devices are your first line of defense against unseen dangers, providing peace of mind for you and your family. When deciding where to place a carbon monoxide detector, start by choosing the right one for your home. At the Mobile Home Parts Store, we offer a wide range of high-quality safety products tailored for mobile homes. Plus, you’ll get the added benefit of expert advice and support. Don’t wait—protect your loved ones today!
Tags: manufactured home, mobile home, mobile home safety, Smoke & Carbon Monoxide Alarm, Smoke & CO Alarms

