


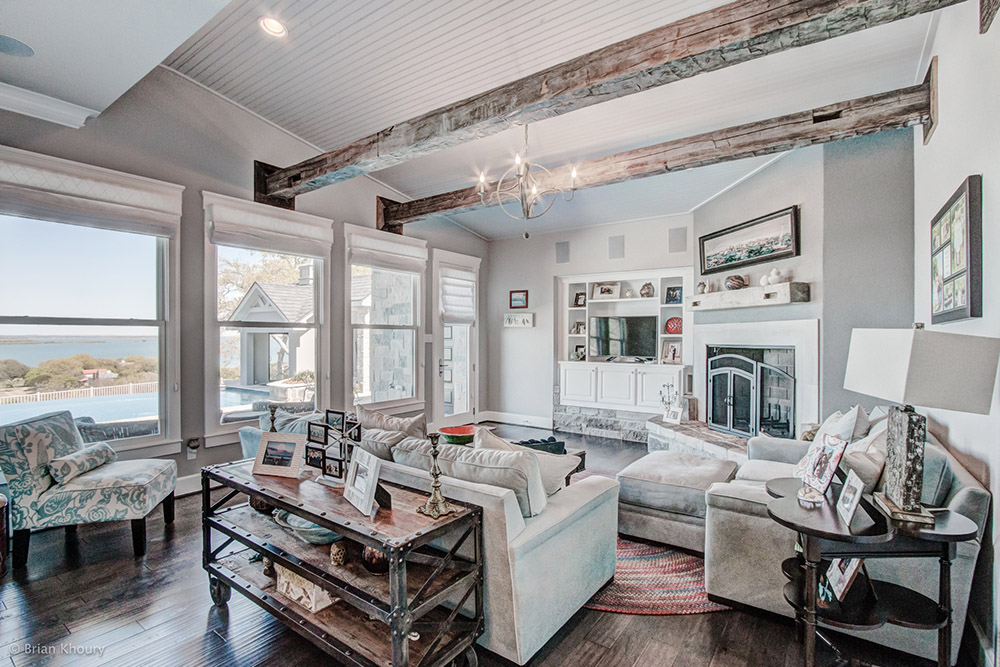
Image courtesy of Brian Khoury. Licensed via Creative Commons 2.0.
The birds are chirping, the rain is drizzling and the smell of fresh grass is abundant. You know what that means, the spring season is finally here! With the arrival of spring comes spring cleaning. What better way to have a successful cleaning this year, then with a budget-friendly facelift for your mobile home?
For our ideas, we took a lot of inspiration from tiny homes and other smaller homes. Our ideas will not only save you space, but also give you that modern rustic farmhouse look you want!
Whether you’re looking for a big project or a small project, we’ve got you covered in our list below. With our step-by-step directions, we’ll show you how to affordably install these items on your own. Our ideas will have your place singing of spring in no time!
1. Quaint Exterior Shutters2. Wallpaper Lined Shelves3. Barn Wood Paneling4. French Country Doors5. Chalkboard Wall6. Modern Chairs7. All White Everything8. Outdoor Lantern Lighting9. Antique Furniture
1. Quaint Exterior Shutters
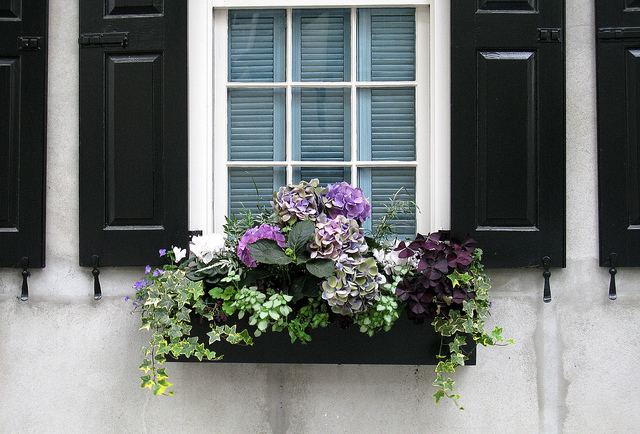
Image courtesy of Spencer Means. Licensed via Creative Commons 2.0.
Give your windows a taste of farmhouse style with some shutters. Easily attached and budget friendly, shutters come in a variety of styles sure to give your mobile home that classic farmhouse style! Check out these great shutters from Mobile Home Parts Store. Super similar to the ones above, they come in 19 different colors! If you want to go above and beyond, also attach several window boxes and fill them with fresh spring flowers.
After picking out your shutters, decide if you want to attach them with spikes or screws. Both ways will firmly attach shutters, so they don’t fly away—even in the strongest of windstorms. To use spikes, first drill holes into the shutters. Then mark where you’d like the shutters to go on your mobile home and drill holes into your siding based on the marks. Finally, nail the spikes through the shutters and into the siding to secure them. Check out this DIY video for more information:
If you’re more comfortable using screws, you may want to attach your shutters with them instead. Using screws to attach shutters is very similar to using spikes. The installation process for both is the same up until the point of actually attaching the shutters to the mobile home. For this portion of the process, you’ll want to use a drill to fasten painted-head screws into your mobile home. To prevent dimpling, don’t over-tighten the screw. Watch this DIY video for more instructions:
Note: You’ll need a drill or a hammer to properly attach your shutters, depending on if you choose to use spikes or screws.
2. Wallpaper Lined Shelves
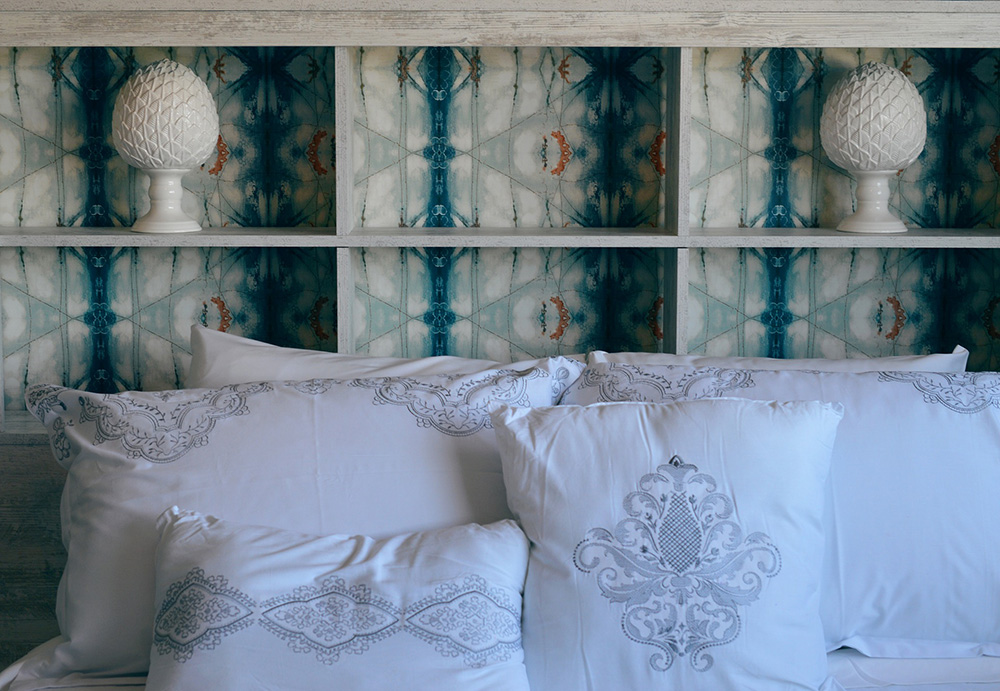
Give your mobile home an instant boost of color by adding some personality to your shelves with wallpaper or another style of printed paper. To start, pick a color scheme with a print that matches your room’s current style. Then measure the shelves and use a ruler to trace lines onto the paper, based on your measurements. Cut the rectangle or square out of the paper and put it into the shelf to make sure it fits.
Adhere the paper to the shelf with craft glue like Mod Podge or another adhesive like wallpaper paste. Some wallpaper comes with a pre-attached adhesive, which can also be used to attach the wallpaper. After attaching the wallpaper with the adhesive, firmly press down and you’re done. Viola! You’ve got new and improved shelves!
For a dose of personality and fun, do the same thing to your drawers! Instead of gluing the paper, you can opt to simply lay the paper flat in the drawers and use your clothing or objects to weigh down the paper.
Note: If you’re really attached to either your shelves or your drawers, you don’t have to glue down the paper. Instead, attach it to pre-cut cardboard pieces. This way you can change the paper without worrying about damaging your drawers or shelves.
3. Barn Wood Paneling
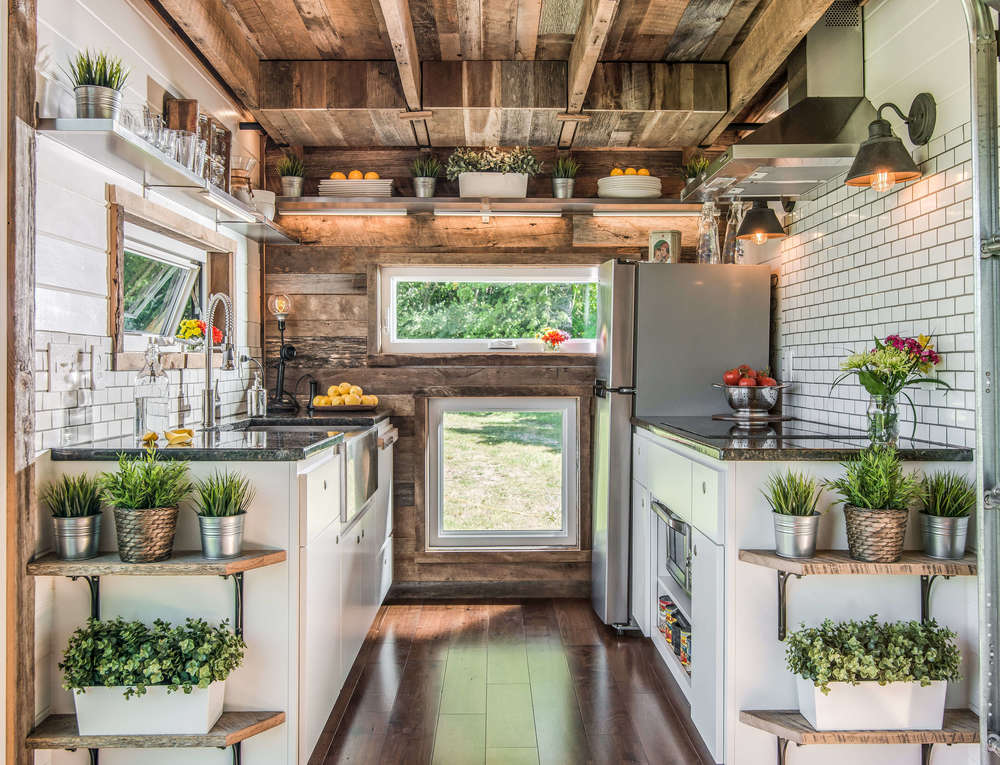
Image courtesy of New Frontier Tiny Homes, Licensed via Studio Buell Photography.
Bring the farm straight into your mobile home with barn wood paneling. Create a statement wall in your kitchen or dining room, by covering the wall ceiling to floor with rugged barn wood. If you want to go above a beyond, extend your wood paneling onto the ceiling for a dramatic rustic look.
To start, either purchase new lumber with a rustic look or buy reclaimed wood. You can find wood planking that appears old at your local hardware store. To install these planks, first measure the wall to find the amount of board you’ll need. The boards may need to be cut to fit around openings in the wall, like windows or doors. After they’ve been cut, press the boards onto the wall after applying a bit of adhesive caulk. Firmly secure the boards with nail studs. If desired, apply a stain or a finish to the planks. Check out this DIY guide for more information.
If you decide to take the reclaimed wood route, it can be found on e-commerce sites like Etsy and eBay. Stikwood is another great site to check out for reclaimed wood. The site sells reclaimed wood planking with peel and stick backs. These boards still may need to be cut to properly fit around opening or fixtures in the wall. To attach, simply peel off the sticker covering on the back and place the board on the wall.
Note: You’ll need adhesive caulk, studs and a hammer to properly attach wood planking to the wall if you choose to not use Stikwood or a similar option.
4. French Country Doors
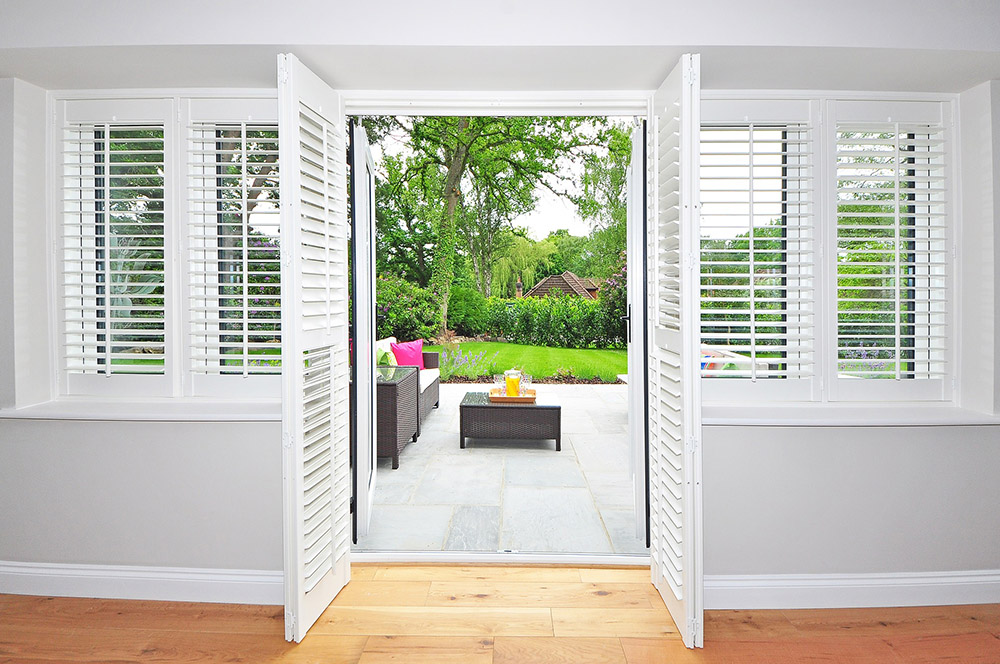
If you had a big facelift for your mobile home in mind this spring, new French doors may be the project for you! Not only will the doors bring in loads of natural light, but they’ll also connect your mobile home to the great outdoors. Your cat will also thank you for the great new sunbathing location. Check out these highly rated and affordable French doors from Mobile Home Parts Store for more inspiration!
To start, you’ll want to select a location in your home for the new French doors. A place with easy access and low clutter is the best choice, after all you don’t want a table or chairs blocking your new doors. After marking on the wall where you’d like the doors to be placed, hire a contractor to cut out a space for the doors. You can skip these steps if you already have an opening where the door can be placed. If you need to remove an existing door or doors, follow these instructions here.
After creating a space for the new doors, measure the frame to make sure it’s straight and true. Then install shims, wood or metal around the edge to ensure the perimeter of the opening is flat. Then apply putty tape to the backside of the door’s mounting edge. Keep the doors closed during the installation process and follow the manufacturer’s instructions, if provided. Insert the doors into the opening and secure them by placing screws into the pre-punched holes in each door. Watch this DIY video for more information:
Note: The doors are heavy so be sure to have at least 4 people help with the installation. Many tools are needed for this project, refer to the instructions and video above for more details.
5. Chalkboard Wall
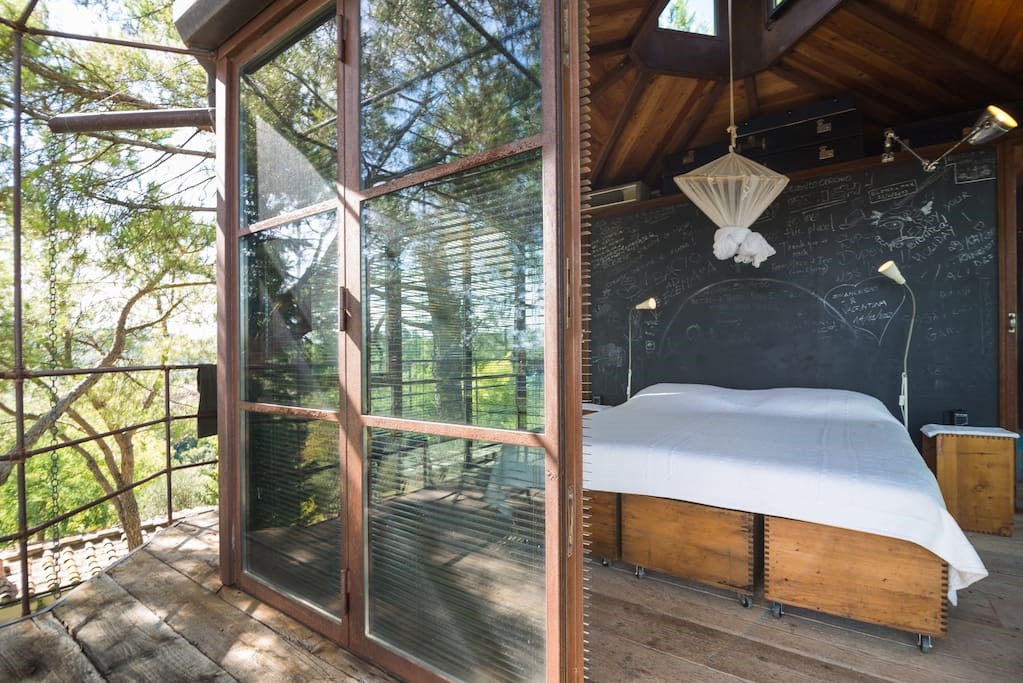
Image courtesy of Elena on Airbnb.
Whether it’s placed in the bedroom or the kitchen, a chalkboard wall is a great way to personalize any room. Incorporate a magnetic element to stick magnets, wedding invites and graduation pictures to your chalkboard wall. Both you and the kids will get a kick out of this great new addition to your mobile home!
For this simple DIY project, you’ll need: chalkboard paint, painters tape, paint rollers, a paint brush and paint trays. If you choose to create a magnetic chalkboard, you’ll also need to add magnetic primer to your shopping list. To begin, tape around the area you desire to become the chalkboard. If you’re creating a magnetic chalkboard, the primer needs to be painted first. Paint it in two coats with a 30-minute wait in between coats.
After waiting for 4 hours for the primer to dry, go ahead and cover the area with the chalkboard paint. (If you’re not creating a magnetic chalkboard, go ahead and skip the primer and simply paint the area after taping.) Wait again for 4 hours and apply the second coat. Let the new chalkboard wall rest for three days until writing chalk messages to your hearts content. Watch this DIY video for more information:
6. Modern Chairs
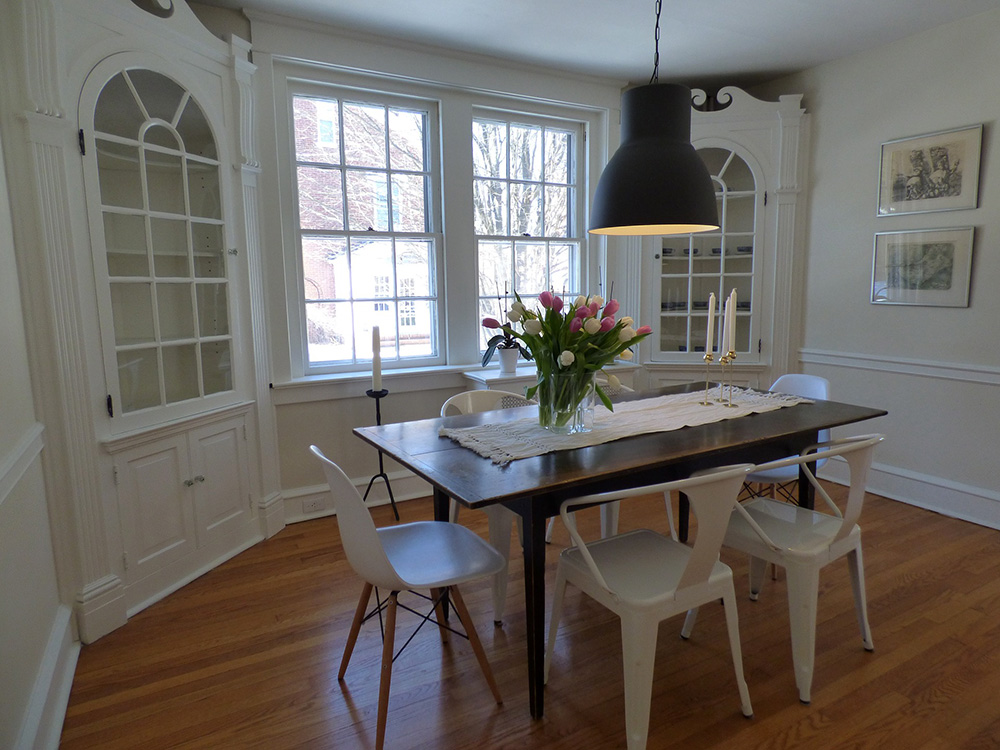
Create an industrial farmhouse feel in your dining room by swapping out your current chairs for modern seating. The contrast of the rustic table with the modern chairs gives your room a great new dynamic and feel. Further the modern rustic mix by replacing your lighting with modern light fixtures, while keeping a classic table runner.
Some chair styles to look for when shopping for modern chairs are the Eames dining room chair and the Tolix Marais dining room chair. Both chairs can be purchased at a variety of price points, depending on brand and quality. Choose matching colors, preferably white or a light pastel, to further accentuate the overall farmhouse style of your mobile home.
7. All White Everything

Image courtesy of Terry Jo on Airbnb.
When you think of a farmhouse, typically a big white house with a wrap-around porch comes to mind. Bring that same inspiration into the interior of your mobile home with all white walls and furniture. To start, paint the walls and ceiling white, if they aren’t white already. Then proceed by purchasing white covers for your existing furniture and painting some furniture, like tables and chairs, white.
Accentuate the white walls and furniture with a variation of brown accessories and pops of pastel color. Consider using small doses of pastel in your decorating, so the space doesn’t have too much white. The balance of color will give the room a beautiful rustic look after you’re finished.
8. Outdoor Lantern Lighting
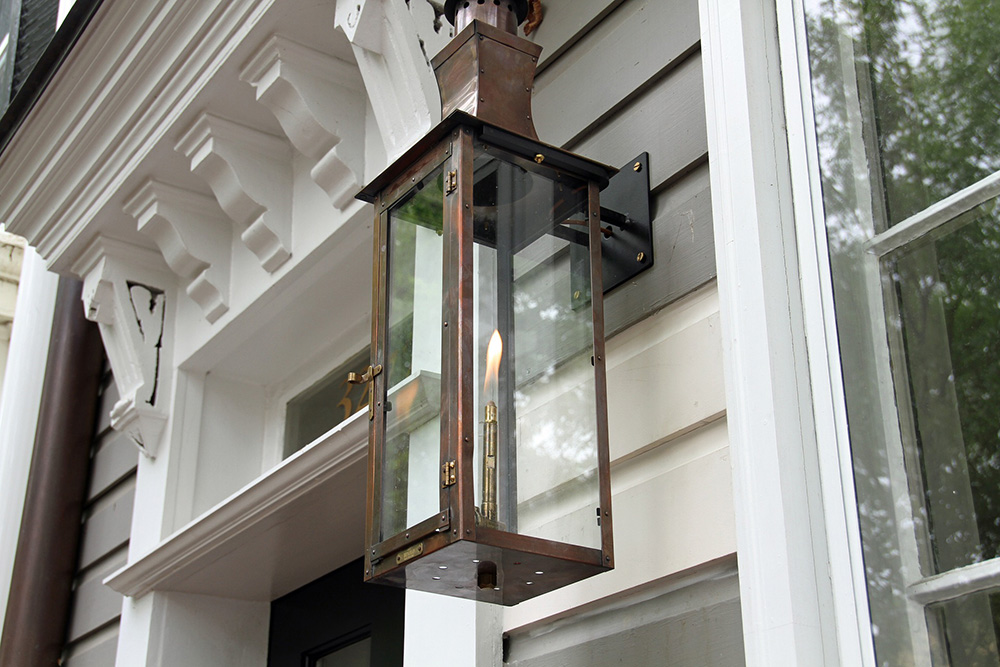
Give your external lighting a polished look with a lantern light or two. The rustic antique look of brass or nickel lanterns is a great way to give your mobile home a farmhouse facelift. The classic farmer style symbolizes the bygone era of farmsteads, when candlelit lanterns were used for everyday lighting rather than electricity. Check out this classic coach lantern from Mobile Home Parts Store. Not only is it affordable, but it also looks really similar to the one above.
After buying a new lantern, you’ll want to place it near your mobile home’s entryway. To install a new lantern, first turn off the power. You don’t want to shock your socks off! Then decide if you want to replace an existing light or install a new light. Follow these directions if you’d like to replace an existing light.
For installing a new lantern, the process may be a bit trickier but still manageable. After deciding upon a new location, you’ll need to run a power line to the area. You’ll want to hire a contractor for this part of the light installation unless you feel comfortable running a power line for the new lantern. After you’ve run the power line, follow these step-by-step directions on how to cut out a hole for the new power box and install a mounting block for the new light fixture.
Note: Depending on if you’re replacing an existing light or installing a new one, you’ll need a variety of power tools, plastic caps and light bulbs for the new lanterns.
9. Antique Furniture
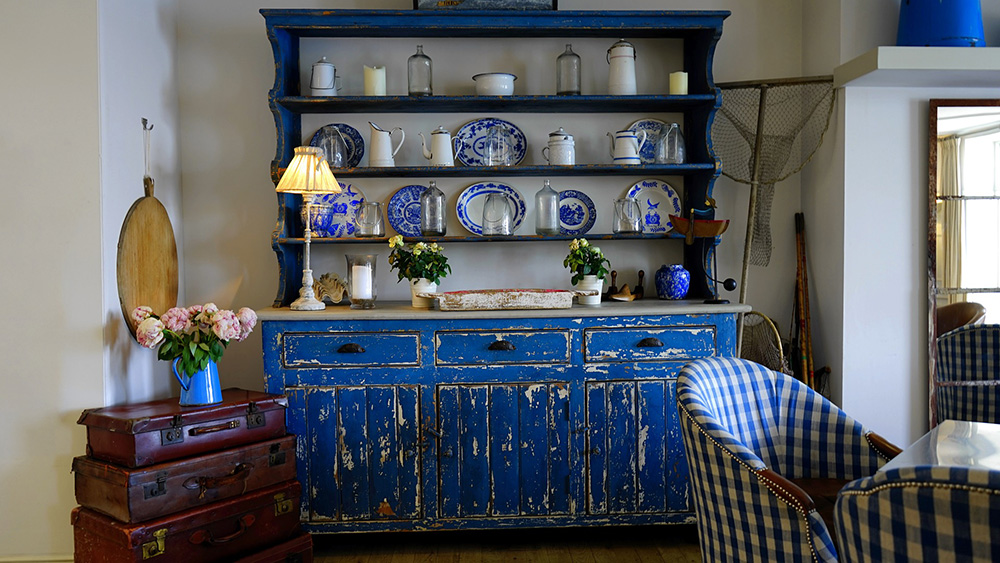
Antique furniture is a great way to add character to any room. Have your mobile home looking like a rustic farmhouse in no time with some pieces from the past. Not only will they add style and uniqueness to any room, but they’ll also become great conversation pieces to woo your friends and family with!
Find unique pieces at antique stores in your area, flea markets and yard sales. When the spring season takes full swing, be sure to scan your neighborhood for any spring cleaning sales and estate sales. After all, one man’s trash is another man’s treasure. Look in your local newspaper for events and larger items for sale, such as the beautiful cobalt blue dining hutch above.
Try distressing your antique furniture for a shabby chic feel, sure to fit in with the rest of your rustic farmhouse décor. Start by sanding the furniture with a textured sandpaper of 50 to 60 grit. Then paint the freshly sanded wood and distress it with sandpaper of 100 to 120 grit after the paint has dried. Read this DIY guide for more information.
It’s Go Time
No matter which remodel project you choose, your mobile home will appreciate the love. So roll up your sleeves, put those safety goggles on and grab that power tool. It’s time to start your spring renovation!

