


.jpg "Spring Savings Sale 20% off sitewide through April 30th")
.jpg "Spring Savings Sale 20% off sitewide through April 30th")
Are you noticing strange smells wafting from your drain? Or your sink is draining slower than usual, or worse, you’ve spotted leaks or mold under your sink. These are all signs of a faulty P-trap in your mobile home. This curved piece of drain pipe, often called a P-trap, does a lot of the dirty work in your plumbing system. Over time, it can spring leaks, become corroded, or get clogged with accumulated soap and grease. In this guide, we’ll show you how to replace a P-trap in a mobile home with just a few simple steps.
Why is a P-Trap Important?
So, what exactly does a P-trap do, and why is it such a big deal for your plumbing? Well, there are three main reasons:
- Plumbing Codes: Mobile homes are required to have a P-trap where an open drain line discharges wastewater into a drain-waste-vent system.
- Preventing Blockages: P-traps catch solids that could otherwise block the drain or sewer line.
- Blocking Sewer Gases: P-traps create a seal that prevents sewer gasses from backing up into your home through the drain line.
How Does a P-Trap Work?
P-traps are made from different materials, such as polypropylene, ABS, PVC, or brass, depending on the type and size of the sink. For instance, bathroom sinks are usually smaller, around 1 ¼ inches in diameter, while kitchen sink traps are typically 1 ½ inches. However, despite the variations, they all function similarly.
P-traps work by creating a water seal in their curve, which prevents sewer gasses from entering your home while still allowing wastewater to flow through. The solid waste stays in the trap and breaks down over time, while freshwater flushes out any remnants with each use. However, like any part of your plumbing, P-traps can wear out and need replacing over time.
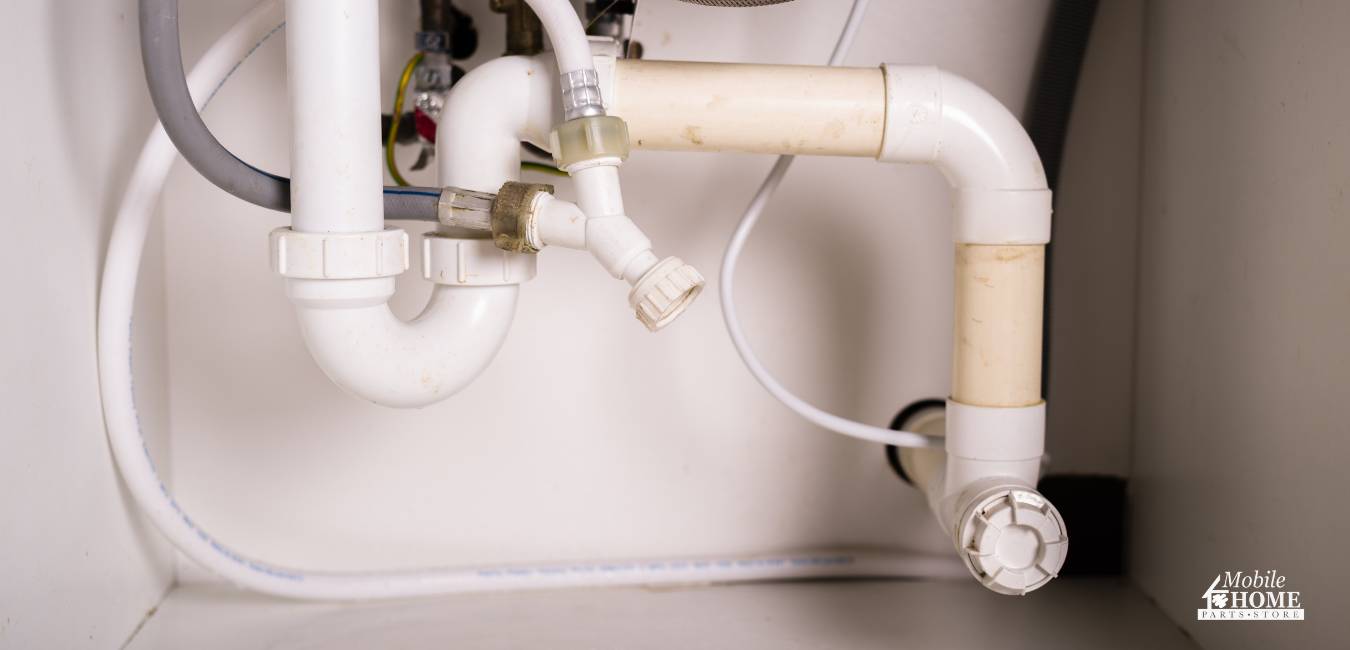
Spotting Issues With Your P-Trap
It’s important to detect issues with your mobile home’s P-trap early to maintain a healthy plumbing system. If you notice unpleasant smells coming from your sink, it could mean it’s dry or leaking. On the other hand, slow drainage or a complete blockage might indicate a clog.
Regularly inspecting and cleaning your P-trap can help prevent these issues, keeping your home’s plumbing in good shape and smelling fresh.
How to Replace a Sink Trap
Now that you understand the importance of a mobile home’s P-trap let’s walk through the replacement process:
Remove the Old Drain Pipe
Start from the top and work your way down, unscrewing any stubborn slip nuts with pliers. Remember that the drain trap (the U-shaped bend) will have some standing water, so have a bucket or bag ready. Keep the old drain part for now to help size the new ones.
Attach the New Tailpiece
- Kitchen: Insert the tailpiece washer into the ABS Male Trap Adapter or flared end of the tailpiece, then screw the slip nut onto the sink strainer.
- Bathroom: The sink drain may start as a tailpiece and may need a tailpiece added or adjusted to reach the P-trap.
Add a T-Fitting (If Needed)
If you have a sink with two basins, use a continuous waste T-fitting to connect the tailpieces. Secure the fitting with slip washers and nuts, ensuring the beveled sides of the washers face the threaded pipes. Applying pipe lubricant on the slip washer to help with installation and a snug fit.
Attach a Trap Arm
Connect the trap arm to the drain stub-out using a slip nut and washer. Ensure the beveled side of the washer faces the threaded drain stub-out. If necessary, cut the trap arm to fit with a hacksaw.
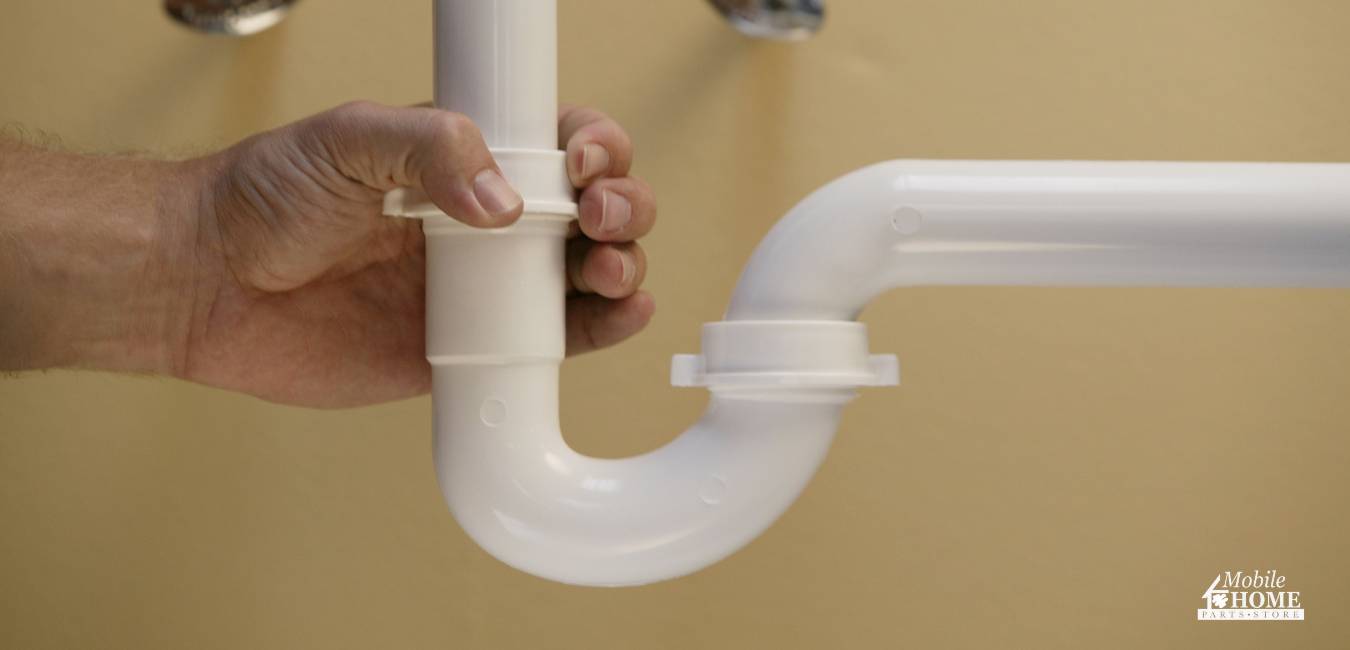
Connecting the Trap Bend to the Trap Arm
Attach the trap bend to the trap arm with slip nuts and washers. The beveled side of the washers should face the trap bend. Use slip joint pliers to tighten all the nuts, being careful not to overtighten.
Test & Clean Up
Turn the water back on by twisting the shut-off valve handle. Test the trap by running the sink faucet at full blast and checking for leaks at the slip-nut connections. If you spot any leaks, gently use pliers to tighten the slip nut. Once the leak stops, stop tightening. Finally, turn off the faucet, remove the bucket or bag under the sink, and clean up any mess.
Conclusion
Replacing a P-trap in your mobile home is a manageable task with the right tools and know-how. Following these step-by-step instructions can ensure proper drainage and prevent plumbing problems down the road. If you run into any difficulties or feel unsure about any steps, feel free to seek help from a professional plumber. With a functioning P-trap, you can enjoy a clog-free and odor-free environment in your mobile home.
As always, the Mobile Home Parts Store team is here to help you with all the mobile home parts and supplies you need to complete your plumbing project! Check out our wide selection of plumbing supplies, P-traps, and Sea Tech Quick Connect Fittings.
Tags: mobile home, mobile home plumbing, P-trap, plumbing

