


Hitting the road, even with a rock-solid RV you love, minor repair needs crop up here and there – like when you need a new vent. Vent covers are important for every RV owner because they help ventilate your RV while protecting it from rain, snow, and dust. Over time, these covers can get damaged or worn out and must be replaced. A damaged vent cover can lead to leaks, which can cause serious damage to the inside of your RV. But don’t worry, you can easily replace it yourself.
We’ve created a simple guide to help you replace an RV vent on your and recognize when it’s time for a replacement.
Signs It’s Time for a New Vent Cover
Your RV’s vent cover works hard to keep things running smoothly. But just like anything else, it can wear out over time. Knowing when to replace it can save you headaches down the road.
Here are some clues it might be time for a new one:
- Cracks, chips, or other damage
- Water leaks or damage inside your RV
- Poor airflow or circulation
- Yellowing or discoloration
- Trouble opening or closing the vent
If you spot any of these signs, it’s important to swap out your vent cover as soon as possible to keep your RV in tip-top shape. But how do you find a replacement cover?
How to Choose the Right Vent Cover for Your RV
When you’re in the market for a new RV vent cover, there are a few things you’ll want to keep in mind:
- Type: What kind of vent do you need? Is it for the roof, hood fan, or floor vent?
- Size: Measure your existing vent cover to make sure you get the right size replacement.
- Material: Consider what the vent cover is made of. Most covers are plastic, which is affordable and common. However, you might prefer a metal cover if you want something more durable to handle harsh weather.
- Features: Check for extra features like insect screens, rain guards, and UV protection. These can make your vent cover last longer and work better.
Different Types of RV Vent Covers
Before you start replacing your RV vents, knowing about the different types available is important. This will help you choose the right vent covers for your needs. RVs’ most common vents are roof vents, sidewall vents, and floor vents, each serving a specific purpose.
Roof Vents
Roof vents are the most commonly used ventilation systems on RVs. They are installed on the roof and help with air circulation inside your RV. Roof vents come in different shapes and sizes, and various types of vent covers are available for each type of roof vent.
Ventline Metal Plumbing Roof Vent
The Ventline Metal Plumbing Roof Vent is a strong and dependable choice for your RV’s plumbing ventilation. Made from durable galvanized steel, it fits pipes from 1 1/4 to 2 1/2 inches. Its removable cap makes maintenance and repairs easy. With this vent, your RV’s plumbing system stays well-ventilated, reducing odors and maintaining airflow.
Sidewall Vents (Hood Fans)
Sidewall vents, also known as hood fans, are typically found in the kitchen area of an RV. They are used to remove smoke and cooking odors, helping to keep your living space fresh.
Ventline White Exterior Sidewall Range Hood Vent
The Ventline White Exterior Sidewall Range Hood Vent is popular with RV owners seeking quality and durability. Made of heavy plastic, it’s built to withstand travel. Its built-in damper seals out weather, keeping your RV comfortable in any climate. It fits most sidewall spaces with a rough opening of 3 1/2″ width x 10″ length and overall dimensions of 5 1/4″ width x 11 5/8″ length. Plus, it’s easy to install so that you can enjoy its benefits with minimal hassle.
Floor Vents
Floor vents are located on the floor of your RV and provide heat and air conditioning. They also require covers, which can be easily removed for cleaning.
How to Find the Size of Your RV Vent Cover
First things first, head to the RV parts store to snag your replacement vent. It’s smart to stick with the same style and size as your old one for an easy swap – same spot, same screws!
But if you’re up for a change, it’s measurement time. Begin by taking off the old cover. Then, measure the length and width of the vent opening, not the cover.
Once you have your measurements, hunt down a replacement cover that matches your vent’s size. Keep it simple by choosing one that fits snugly in your vent opening.
How to Replace Your RV Vent Cover
Replacing your RV vent cover is a straightforward process that can be completed in just a few steps.
1. Gather Your Tools and Materials
Before you begin, gather the following tools and materials:
- Screwdriver or Drill
- New RV Vent Cover
- Screws
- Putty Scraper or Flathead Screwdriver
- New Sealant with Caulk Gun (if needed)
Once you have everything ready, you’re set to begin.
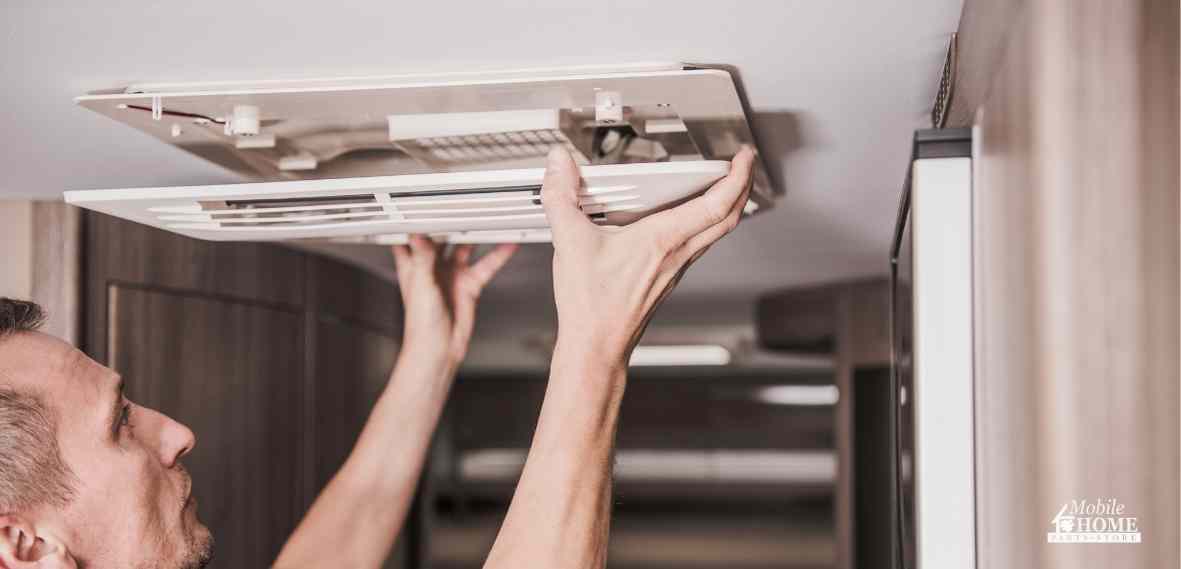
2. Remove the Garnish
The garnish is the metal or plastic part inside the ceiling of your RV that covers the vent opening. From inside the RV, reach up and gently pull out the garnish. Set it aside to reinstall later.
3. Remove the Old RV Vent
- Go to your RV’s roof and scrape off the old sealant using a putty scraper or flathead screwdriver.
- Unscrew the old vent and lift it out, keeping the screws handy.
- Clean off any remaining sealant, taking care not to damage the roof.
- If the vent is attached to a fan, turn off the RV power, cut the wires diagonally close to the vent, and leave enough wire to attach to the new vent wires. Use wire cutters for this step.
4. Install the New RV Vent
- Check the instructions provided with your new vent for any special tips or notes.
- Apply putty tape or sealant to the edges of the vent that will contact the roof.
- Screw in the new vent, using the screws from the old vent if they are in good condition.
- Seal over the screws and along the edges of the vent to make it watertight and secure.
5. Reinstall the Garnish
Return inside the RV and reinstall the garnish. If your new vent came with a new garnish, use that and discard the old one. And that’s it! You’ve successfully replaced your RV vent cover.
Easy Ways to Keep Your RV Vent Covers in Top Shape
To keep your RV vent covers in good condition for years to come, follow these simple tips and tricks:
- Keep Them Clean: Regularly clean your vent covers to stop dirt and debris from building up.
- Check Seals and Gaskets: Look for signs of wear on the seals and gaskets. If you see damage, replace them immediately.
- Protect from the Sun: Apply a UV protectant spray to plastic vent covers to prevent them from fading and cracking.
- Stop Bugs and Debris: Think about getting vent covers with built-in screens. These screens keep bugs and debris out of your RV.
- Condensation: Sometimes, too much moisture builds up inside your RV. Make sure your vent covers are open to help improve airflow through your RV.
- Reduce Noise: Use silicone spray to lubricate the hinges and moving parts of your vent covers. This will reduce squeaks and creaks, allowing you to enjoy a quieter ride.
Taking care of your RV vent covers doesn’t have to be hard. These tips make it easy to keep them in top shape for all your adventures!
RV Ventilation with Mobile Home Parts Store
Don’t let a damaged or worn-out RV vent cover put a damper on your adventures. At Mobile Home Parts Store, we understand the importance of having quality vent parts and supplies to keep your RV in top condition. Whether you’re in need of a new roof vent, sidewall vent, or floor vent cover, we have a wide selection to meet your needs. With easy-to-follow guides and a variety of options available, replacing your vent cover has never been simpler. Plus, with our range of features, including fan blades, vinyl seals, and sealants, you can ensure your vent cover lasts longer and performs better.
Visit Mobile Home Parts Store today for all your RV vent needs and embark on your adventures worry-free!
Tags: RV life, rv maintenance, rv parts, rv parts store, rv repair, RV vent

